
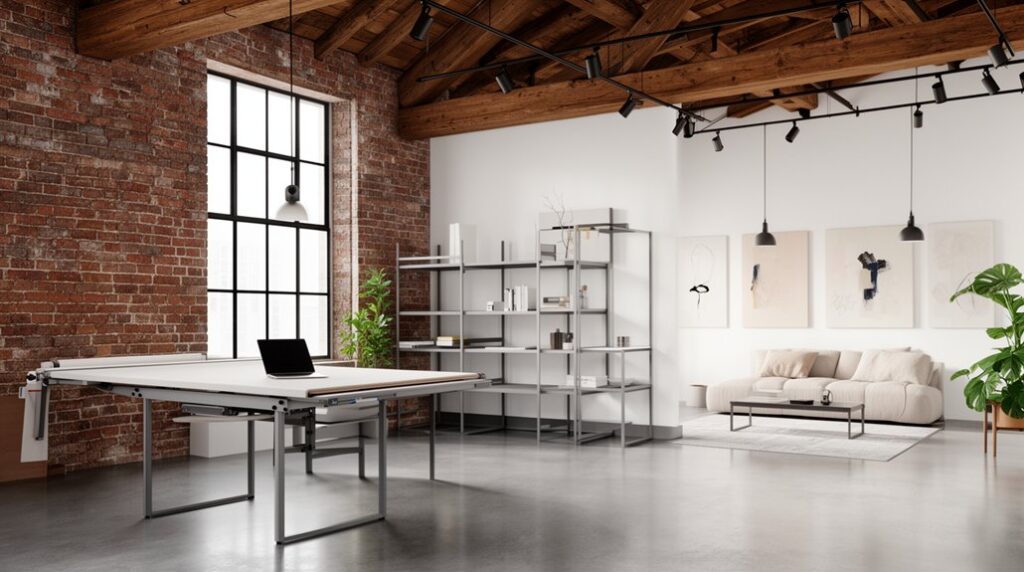

You probably don’t know you can treat your loft conversion like a load-path exercise, not a decorating project, and it changes every decision you make. Start by zoning the studio around fixed structural lines—columns, beam bays, and stair or riser locations—then strip everything that interrupts span-based sightlines. You’ll use full-height glazing, offset partitions, and high-LRV paint to push daylight deep into the plan, but the real constraint shows up when you…
Plan the Loft-to-Studio Layout and Zones
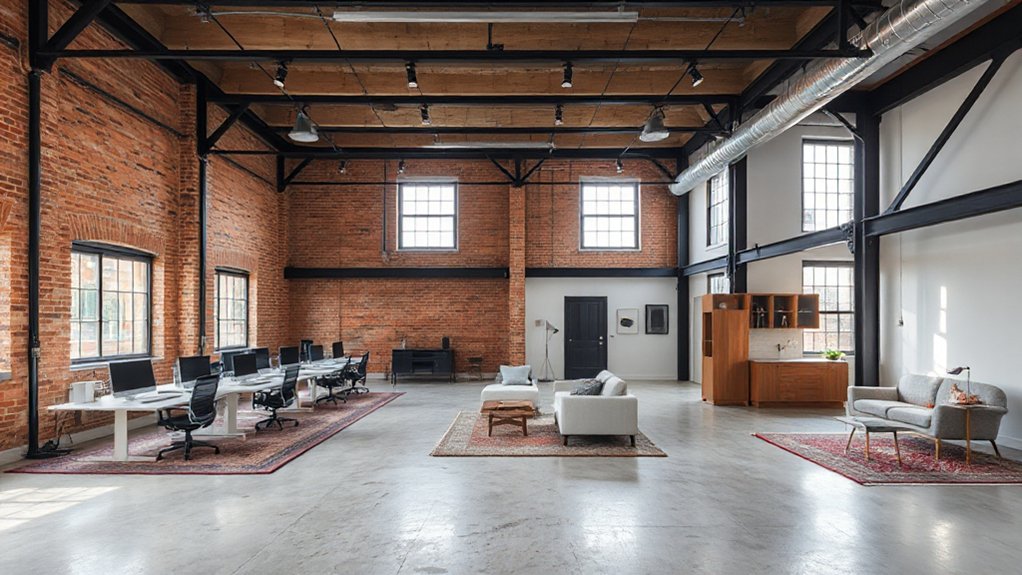
Before you move a single wall or run new wiring, map the loft into hard zones—work, living, sleep, storage, and circulation—then lock their adjacencies to the existing structure.
Anchor the work zone to daylight and straight runs for data/power; keep the sleep zone deep and acoustically buffered.
Stack storage along low-ceiling or column lines; preserve a clear circulation spine from entry to egress.
Draw a 1:50 plan, then overlay furniture blocks, door swings, and 36-inch minimum paths to validate clearances.
Use open floor plans by limiting full-height partitions and defining zones with ceiling grids, floor material breaks, and lighting circuits.
Specify Industrial lighting in task rows over the work bay, dimmable ambient over living, and low-glare fixtures along circulation.
Keep the Right Loft Elements (and Lose the Rest)
Although you’re aiming for a contemporary studio, treat the existing loft fabric as a selective salvage list: keep elements that contribute structure, daylight, and scale, and strip anything that adds visual noise or obstructs circulation. Preserve primary beams, columns, and truss lines, and document their load paths before you demo.
Keep brick or timber surfaces only where they read as intentional Loft character; otherwise, skim-coat to a flat datum. Retain large openings, but remove bulky casings, redundant soffits, and ad-hoc chases that fracture ceiling planes.
Consolidate MEP runs into straight, parallel routes; delete abandoned conduit and capped branches. Replace mismatched railings, patchwork mezzanine infill, and noncompliant stair geometry.
You’ll end up with clean, legible Architectural features that support furniture-scale flexibility.
Boost Daylight With Partitions, Glass, and Paint
Once you’ve cleared visual clutter, you can drive perceived brightness by treating partitions, glazing, and finishes as a coordinated daylight system. Place new partitions perpendicular to window walls so they don’t steal the primary light path. Specify full-height glazing where privacy allows; use low-iron glass and minimal mullions to cut green tint and shadow lines.
If you need opacity, choose reeded or laminated translucent panels that still pass luminance. Paint becomes your reflector: set ceiling and upper walls to high-LRV whites, then control glare with matte or eggshell sheen.
Use color schemes that keep saturation low near apertures and push deeper tones to the core. Add lighting enhancements only to fill falloff zones, matching CCT to daylight.
Pick Modern Finishes That Still Feel Like a Loft
To keep a contemporary spec while preserving loft DNA, you should limit your finish palette to a few high-performance materials and let the building’s structure stay legible.
Specify sealed concrete or wide-plank white oak floors, then keep walls in matte mineral paint (5–10 GU) so steel, brick, and duct runs read as the “exposed layer.” Use microcement or large-format porcelain slabs with 1/16-inch joints for wet zones; align grout lines to your grid.
For metalwork, choose blackened steel with a clear powder coat, not glossy paint. Install industrial lighting on surface-mounted conduit or track, centered on bay spacing.
Add statement rugs to define zones without changing floor levels; size them to furniture footprints plus a 12-inch perimeter reveal.
Build In Storage That Keeps the Studio Minimal
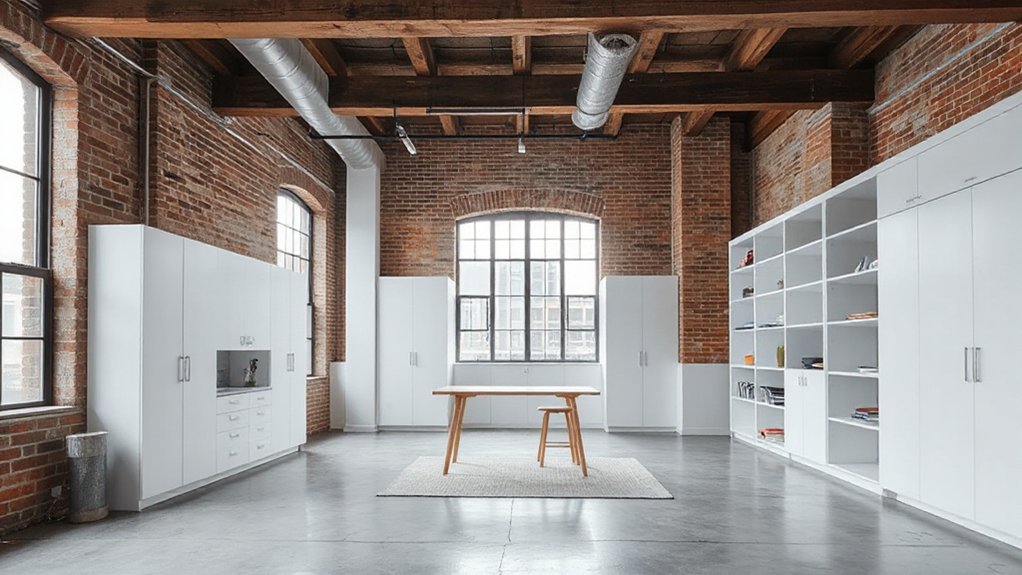
A tight finish palette only reads “contemporary loft” if you keep visual noise off the floor and out of sightlines, so plan built-ins that swallow daily clutter without masking the shell. Run a continuous base cabinet line along the party wall, 24 inches deep, with flush slab fronts and no pulls. Cap it with a durable worktop that doubles as a desk.
Frame a full-height storage spine near the entry: broom closet, stacked pantry, and AV bay, all aligned to stud spacing. Box around columns to create shallow niches for books and art. Specify toe-kick vents so HVAC return paths stay clear.
Detail overhead cabinets above the bathroom core, keeping Loft insulation continuous behind them. Integrate dimmable lighting around vintage fixtures. Use soft-close hardware throughout.
Frequently Asked Questions
How Much Does a Loft-To-Studio Conversion Typically Cost?
You’ll typically spend $50,000–$150,000, depending on scope, MEP reroutes, insulation, and code upgrades. Use design inspiration to set specs; budget planning to allocate line-items for framing, glazing, finishes, contingencies.
Do I Need Permits or Building Approvals for Converting My Loft?
Yes—you’ll likely need permits; about 70% of renovation projects require approvals. Check zoning regulations for use/occupancy, and follow building codes for egress, fire separation, plumbing, and electrical loads. Your plans must pass inspection.
How Long Does a Typical Loft Conversion Project Take?
You’ll typically need 8–16 weeks: 2–4 for surveys, Design inspiration, and drawings; 4–10 for framing, MEP rough-ins, insulation; 1–2 for drywall; 1–2 for finishes driven by Material choices.
How Can I Improve Soundproofing Between the Studio and Neighbors?
To hush your sonic footprint, you’ll decouple walls with resilient channel, add MLV, dense insulation, and double drywall with Green Glue. Apply soundproofing techniques: seal gaps, float floors, and use noise reduction materials around penetrations.
Will Converting the Loft Affect Resale Value or Rental Income?
You can increase resale value and rental income if you document permits and keep reversible layouts; you’ll reduce them if you over-customize. Specify Interior lighting circuits and Storage solutions as built-ins, not structural changes, for broad appeal.
Conclusion
You’ve mapped your loft like a set of construction drawings: clear zones, efficient circulation, and adaptable work/live functions. Keep beams and columns as load-bearing character, strip nonessential partitions, and drive daylight with full-height glazing, glass dividers, and high-LRV paint. Specify polished concrete, matte mineral walls, and industrial metalwork for a crisp envelope. Build storage flush and integrated to protect sightlines. The result performs like a calibrated instrument—bright, minimal, and structurally honest throughout.