You don’t have to gut a cottage to make it comfortable. You can start by auditing what’s original—wide floorboards, lime plaster, hand-planed doors, worn latches—and decide what must stay untouched. You’ll set priorities that put charm first, then plan repairs that match the existing timber, trims, and finishes with breathable materials. Modern lighting, wiring, and heat can disappear into nooks and eaves if you plan ahead, but the first choices you make will decide whether the house still feels like itself…
Audit Cottage Interior Features to Keep
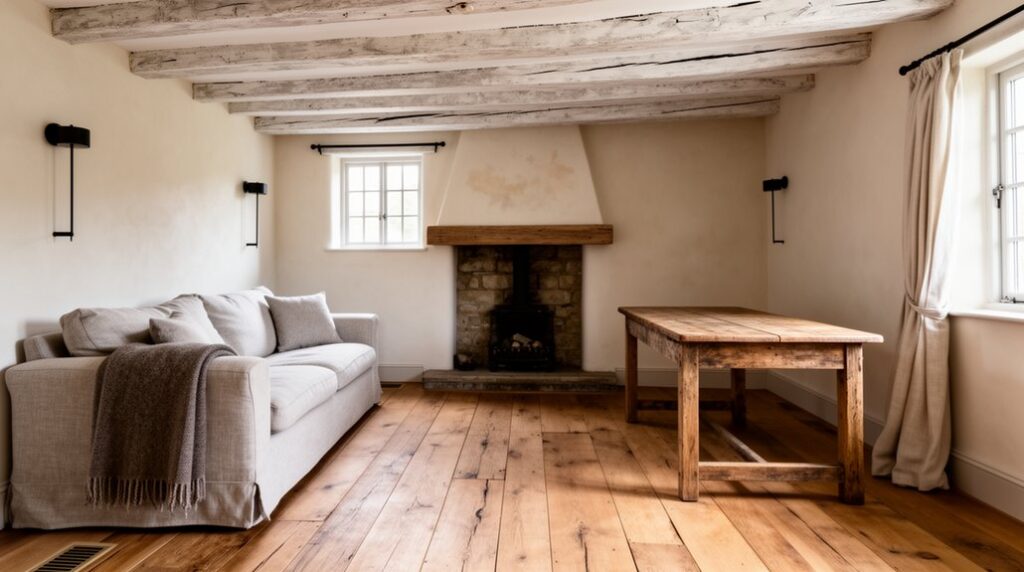
Before you swing a hammer, walk through the cottage and catalog the features that still tell its story: original floorboards with saw marks, plaster walls with limewash traces, hand-planed trim, panel doors on cast-iron or brass latches, and any surviving hearth or built-in cupboards.
Photograph each element in raking light, note dimensions, and map what’s original versus later patchwork.
Check door casings for layered paint, inspect baseboards for scarf joints, and tap plaster to find sound areas worth saving.
Trace chimney breasts, alcoves, and former partition lines so you don’t erase room logic chasing Open concept design.
When you bring in Modern furniture, let it float; don’t cut back wainscots or widen openings that anchor the house’s scale and period joinery.
Set Renovation Priorities and Budget (Charm First)
Although shiny finishes tempt you to spend where they show, you’ll protect a cottage’s charm best by funding what keeps the old fabric intact first. Put your first dollars into roof, drainage, and structural timbers, then restore windows, shutters, and original doors instead of replacing them. Budget for gentle repairs: lime plaster patching, reversible paint removal, floorboard re-nailing, and period-appropriate hardware.
Next, earmark money for discreet Modern amenities that won’t fight the age of the house: upgraded wiring, safer plumbing, insulation that lets walls breathe, and efficient heating sized to the building.
Finally, reserve a smaller line for Vintage decor—salvaged light fixtures, wool textiles, and honest secondhand furniture—so the finish layer looks earned, not staged.
Track costs room by room and keep a contingency for hidden rot.
Plan a Cozy Cottage Interior Layout That Works
You’ll get a cottage to live well only if you plan the layout as carefully as the trim and hearth, respecting how older rooms were meant to be used. Mark clear zones—fireside sitting, a compact dining corner, a work surface—so comfort feels intentional rather than crowded.
Then improve flow in tight passages by keeping walkways open, placing furniture to guide movement, and letting doors and windows do the work they were built to do.
Define Zones For Comfort
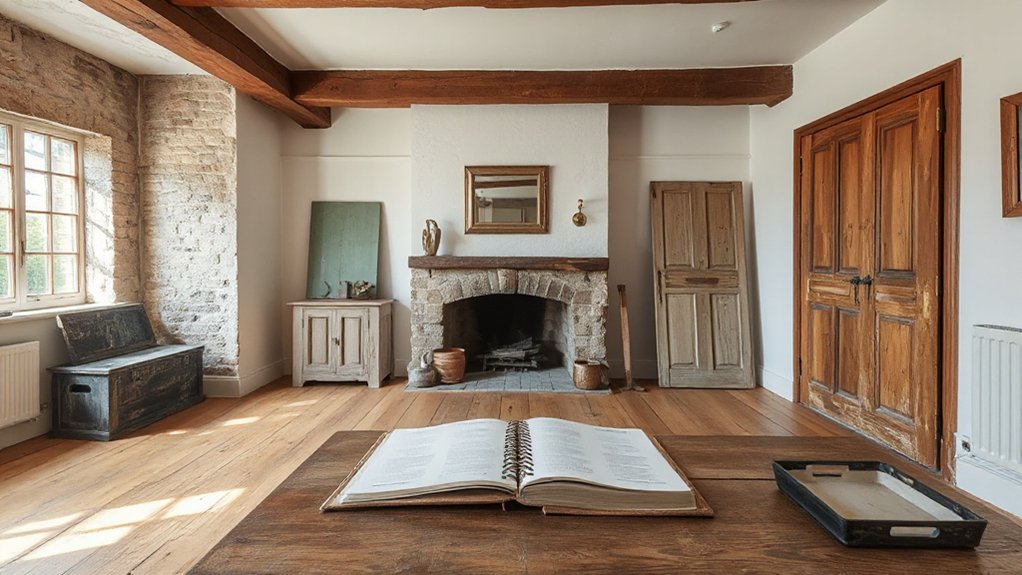
Where does daily life naturally gather in a cottage—by the hearth, at the table, or beside a bright window? Start there, then define zones that honor how older rooms were used: cooking, mending, reading, and receiving.
Use zoning strategies that feel period-true—an apron-front table for meals and work, a settle or wing chair angled to the fireplace, and a window bench for handwork and light.
Mark boundaries with authentic cues: a braided rug to ground the sitting area, a peg rail for coats by the door, and a small sideboard to serve tea.
Keep sightlines open so the Vintage charm reads as one story, not a patchwork.
Improve Flow In Small Spaces
How can a small cottage feel generous instead of cramped? You improve flow by honoring the house’s original paths: the route from door to hearth, from kitchen to table, from bed to washstand. Instead of forcing Open floor plans, keep partial separations—an old dresser as a low divider, a glazed door, a curtain on a rod—so rooms still breathe.
Start with furniture arrangement. Float a settee to define a sitting bay, but keep a clear 30–36 inch passage along walls and through door swings. Choose leggy pieces that show floorboards, and favor drop-leaf tables that fold away like earlier farmhouse forms.
Align rugs with traffic lines, not walls, and you’ll move easily without losing character.
Restore Cottage Floors, Doors, and Trim (Repair vs Replace)
Start by inspecting your cottage’s floors, doors, and trim for sound, repairable fabric—tight grain, intact joinery, and wear that tells age rather than rot.
When patching won’t hold, you’ll replace selectively and match what was there: species, thickness, bead profiles, hinge mortises, and the old paint line.
You keep more authenticity (and often better materials) when you repair first and choose period-appropriate replacements only where you must.
Assess Repairable Woodwork
Before you strip a single board or unhang a door, take stock of the cottage’s repairable woodwork, because original floors, trim, and joinery carry tool marks and proportions that modern replacements rarely match.
Walk room to room with raking light and a thin awl. Probe for soft fibers at sill ends, baseboards, and door bottoms, and note insect pinholes versus active frass. Map cupping, split tongues, and worn thresholds, then photograph profiles so you can reassemble in the same order.
Check nail types, mortise-and-tenon joints, and hand-planed faces to confirm you’re working with Antique woodwork.
Choose Restoration techniques that conserve fabric: gentle cleaning, de-nailing, localized epoxy consolidation, dutchman patches, and reversible hide-glue repairs. You’ll preserve patina while restoring strength.
Match Period-Appropriate Replacements
Even if a board or casing has to go, you can still keep the room honest by matching species, cut, and profile to what the cottage was built with. Pull a sample from a closet: note grain, quarter- or rift-sawn faces, and the bead width on tongue-and-groove flooring.
When you must replace, salvage first—old-growth pine, fir, or chestnut carries density modern stock can’t fake. For doors, match rail-and-stile proportions, panel depth, and hinge mortises; reuse original hardware whenever it’s safe.
For trim, copy the exact knife profile and backband reveal, not a “close enough” big-box molding. Keep paint layers breathable and stain tones restrained so new work doesn’t shout. You’ll protect Architectural authenticity, letting Vintage textiles and light remain the focus.
Choose Cottage Interior Materials That Suit Old Houses
Because old cottages breathe, shift, and settle with the seasons, you’ll get the most authentic—and durable—results by choosing interior materials that work with their original fabric rather than fighting it.
Favor lime plaster over hard gypsum so walls can wick moisture, and use breathable clay paints or distemper where appropriate.
Repair floorboards with reclaimed timber that matches the cut, width, and grain, and bed tiles in lime mortar instead of cement.
Keep insulation vapor-open, especially in roof slopes, and detail trims in solid wood, not MDF, to echo historic joinery.
For comfort without falsifying age, layer Vintage textiles—wool throws, linen curtains, rag rugs—rather than synthetic wall-to-wall carpet.
Finish the room with Antique fixtures in brass or iron, rewired safely but kept intact.
Pick Cottage Interior Colors That Match the Era
When you match your color palette to your cottage’s build date, the rooms read as original rather than “decorated.” Start by treating paint like an archaeological layer: check what’s already there, note how natural light falls, and choose hues that would’ve been mixed from earth pigments and soot-based blacks, not high-chroma modern tints.
If you’ve got an 1800s worker’s cottage, lean on warm limewash whites, stone greys, ochres, and muted green made from ochre and lampblack. For early 1900s updates, allow slightly cleaner creams and dusty blues, still softened with grey.
Keep trim a half-step deeper than walls to echo hand-mixed batches. Choose period-credible paint finishes: matte or chalky walls, eggshell on joinery, and gloss only where wear demanded it. Test swatches at dawn and dusk.
Add Modern Lighting to a Cottage Interior Discreetly
Although you need modern light levels for daily life, you can add them without advertising the upgrade by treating fixtures and wiring like reversible layers that respect the cottage’s original fabric. Choose small-scale pendants and shaded sconces in aged brass, iron, or painted tin, and keep profiles close to beams and plaster so nothing dominates the room.
Run new cable through existing voids, skirtings, or surface-mounted conduit painted to match, so you don’t chase original masonry. Fit Energy efficient bulbs with warm color temperature and high CRI to mimic candle and oil-lamp glow without the heat.
Use Smart lighting dimmers and discreet switches, tucked near door architraves, so you control scenes while keeping period sightlines intact. Where possible, rewire and relamp inherited fittings rather than replace them outright.
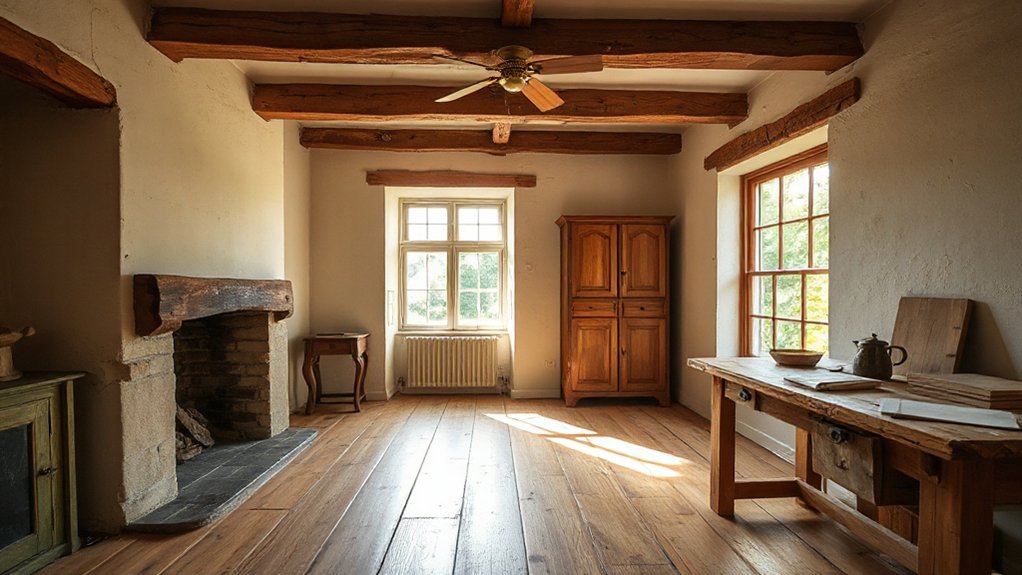
Build Cottage Interior Storage Into Nooks and Eaves
Modern lighting can sit quietly in a cottage, and your storage should do the same by taking its cues from the building’s odd corners rather than fighting them.
Measure every sloping eave and shallow recess, then design fitted cupboards that follow the pitch line and stop short of historic skirtings and beams.
Use framed, plank-style doors with simple latches so new work reads like old joinery, and paint it in the same soft sheen as existing woodwork.
Where you’ve got chimney breasts or stair returns, turn them into decorative nooks with shelves for crockery, books, or lanterns.
Add hidden storage under window seats and in toe-kick drawers, keeping hinges and pulls small and blackened.
Insulate Old Cottages Safely (Damp and Ventilation)
Where do most cottage insulation schemes go wrong? You trap a building that was meant to breathe. Solid stone or lime-plastered walls manage damp by evaporation; seal them with foams, vinyl paints, or impermeable boards and you drive moisture into timbers, joist ends, and embedded lintels.
Aim for thermal comfort through compatible layers. Choose vapour-open materials—woodfibre, cork, sheep’s wool, or hemp-lime—paired with limewash and breathable renders. Keep cavities and voids continuous, but don’t block historic air paths: underfloor vents, chimney flues, and eaves gaps.
Add draught-proofing to shutters, doors, and floorboards, yet retain background ventilation so humidity can escape. Prioritise moisture control: repair gutters, flashings, and pointing first, then insulate once the fabric dries naturally.
Hide Cottage Heating and Electrics: and Furnish Around Originals
How do you add warmth and power without turning a cottage into a cable showroom? You choose hidden heating and careful electrical concealment that respects old fabric. Run slim microbore pipes under floorboards, not across plaster, and tuck small radiators behind settle benches or within vented joinery. If you install underfloor heating, lift and relay flags or boards so edges stay irregular, and keep breathable build-ups.
For electrics, reuse existing chases, route cables through voids, and bring outlets up discreetly in skirtings or inside cupboards. Specify period-style switches, low-profile plates, and warm lampshades to soften modern light.
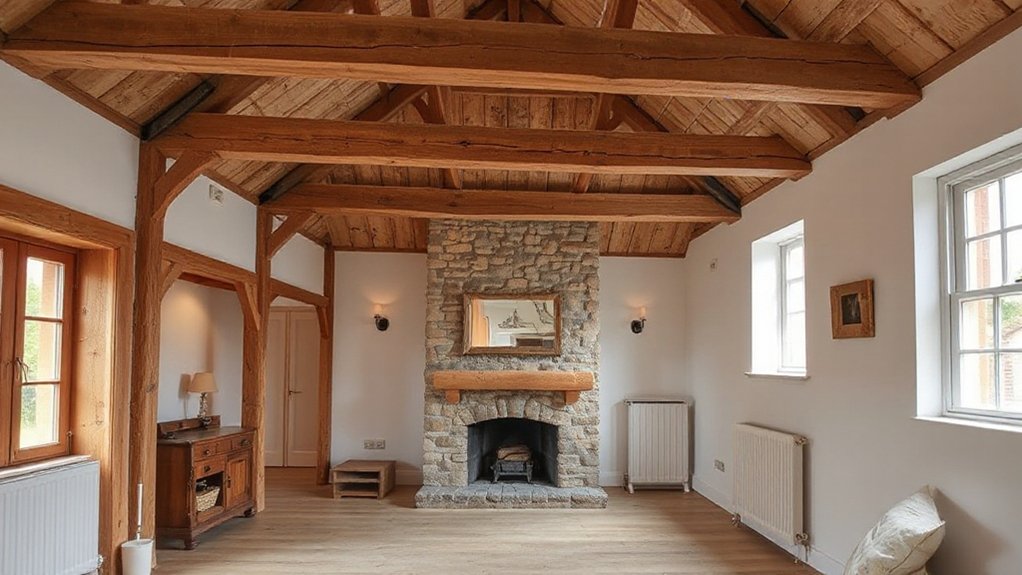
Then furnish around originals: keep the hearth as the visual anchor, float sofas clear of beams, and let uneven walls dictate built-ins, not fight them.
Frequently Asked Questions
How Do I Handle Renovation Permits for a Listed or Heritage Cottage?
You’ll consult your local conservation officer early, confirm heritage restrictions, and document existing fabric. You’ll follow the permit application process with measured drawings, material specs, and method statements, then wait for approvals before work begins.
What Cottage Renovation Mistakes Most Often Hurt Resale Value?
You hurt resale value by stripping Vintage charm, using Modern updates that clash, skimping on structural repairs, swapping original windows/doors, ignoring moisture control, overpersonalizing layouts, and choosing cheap finishes; you’ll also devalue by erasing period details.
How Can I Check for Asbestos or Lead Paint Before Starting Work?
Check your home’s era and materials, then hire an Asbestos inspection for suspect insulation, tile, or mastic. Use EPA-recognized Lead paint testing kits or an XRF pro. Don’t sand or scrape until results confirm.
What’s the Best Approach to Dealing With Woodworm and Rot?
Start by probing timber, mapping rot and woodworm flight holes, then fix leaks and improve ventilation. You’ll splice like-for-like seasoned wood, apply borate Wood treatment, and reinforce Pest prevention with clean voids, limewash, and monitoring.
How Do I Stage a Cottage Renovation if I’M Living in It?
Stage it in livable phases: seal off one room, set up a temporary kitchen, and schedule dusty work last. You’ll protect Vintage charm by covering joinery; add Modern updates with planned, reversible interventions.
Conclusion
You don’t keep a cottage’s character by chasing “new”; you keep it by honoring what’s already there—worn boards, wavy plaster, and original joinery. You’ve prioritized repair, chosen breathable finishes, and slipped lighting, wiring, and heat behind trims and into voids, out of sight. That restraint matters: England’s heritage body estimates around 20% of a traditional building’s heat loss comes through windows, so you can improve comfort without gutting fabric.