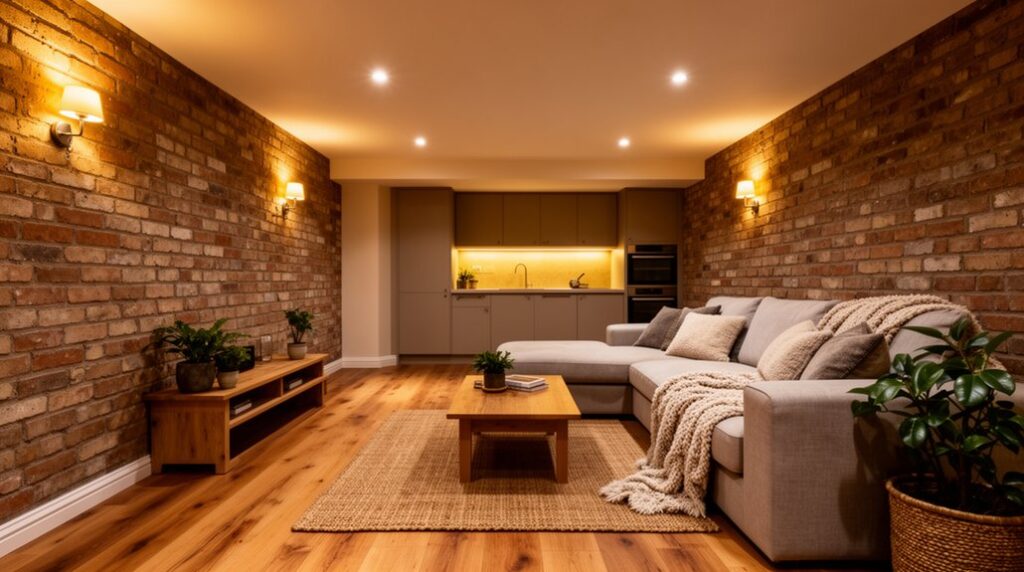
You can’t turn a cellar into comfortable living space until you treat it like a damp-prone system: structure, water, heat, and air. Start by checking headroom, access, and any movement, then map moisture paths and pick a waterproofing stack (tanking, perimeter drain, or cavity membrane) with insulation that won’t trap water. Add ventilation and a heating plan early, because every finish depends on those choices—and one spec mistake can lock in mould for years…
Assess Cellar Conversion Feasibility (Height, Access, Structure)
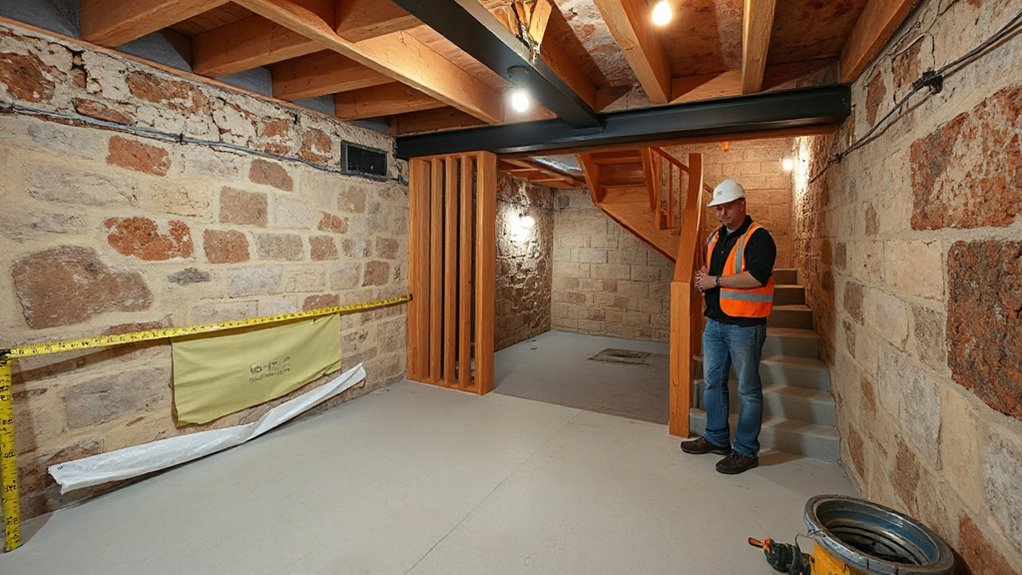
Before you buy insulation or sketch a floor plan, validate that your cellar can physically become a compliant room by checking three constraints: clear head height (measure slab-to-joist and compare it to your local minimums), safe access (stairs, egress route, and door widths you can actually build), and structural integrity (foundation walls, beam pockets, moisture intrusion, and any signs of movement).
If height’s short, you’ll weigh slab removal, underpinning, or dropping finishes—each changes costs and risks. Confirm stair geometry and landing space won’t force unsafe slopes.
Inspect walls for bowing, spalls, efflorescence, and active cracks; verify beams have bearing and no rot. Map water paths at storms. Respect Cellar aesthetics and historical preservation by keeping original stone, joists, and openings where they’re sound.
Cellar Conversion Permits, Building Regs, and Inspections
Even if your cellar has the height and structure to work, you still need permits and code sign‑off to make it legal living space. Start with your local building department to confirm change‑of‑use rules, minimum ceiling height, emergency egress, smoke/CO alarms, and fire separation to the floor above.
If you’ll add plumbing or circuits, pull trade permits and use licensed contractors where required. Plan for moisture control, insulation values, and mechanical ventilation to meet energy and indoor‑air standards without compromising Cellar aesthetics.
Schedule rough inspections for framing, wiring, plumbing, and damp‑proofing before you close walls, then a final inspection for occupancy.
In older homes, check historical preservation constraints and document reversible finishes. Keep stamped plans on site.
Budget and Timeline for a Cellar Conversion
Although you can rough‑estimate a cellar conversion by square footage, your budget and schedule will swing most on moisture mitigation, headroom changes, and MEP scope (electrical/plumbing/HVAC).
Start renovation budgeting by pricing design, structural checks, and permit fees, then add contingencies (10–20%) for hidden masonry defects and service upgrades.
If you’re adding a bathroom or kitchenette, plan for drainage runs, venting, and backflow protection where required.
Electrical costs jump when you need a new subpanel, AFCI/GFCI protection, and hardwired smoke/CO alarms tied to the dwelling system.
HVAC varies with heat-loss calcs, fresh-air requirements, and duct routing.
Typical timelines run 8–16 weeks: survey/design, rough-in, inspections, insulation/drywall, finishes that support your cellar aesthetics.
Fix Damp First: Tanking, Drainage, and Membranes
Before you insulate or finish anything, you’ve got to stop moisture at the source and meet the intended waterproofing grade.
You’ll prep tanking slurry correctly (clean, sound substrate, controlled mix ratios and cure times), or you’ll route water away with perimeter drainage to a sump/pump setup sized for peak ingress.
Where movement or ongoing seepage is likely, you’ll specify a cavity membrane system with sealed joints, drainage channels, and accessible service points so the space stays compliant and maintainable.
Tanking Slurry Preparation
Once you’ve confirmed the walls and slab are structurally sound, prep them like you’re setting up a critical bond line—because tanking slurry only performs as well as the substrate you stick it to. Mechanically abrade paint, laitance, and salts; vacuum dust; then degrease if needed.
Rake out cracks and honeycombing to sound edges and patch with a compatible repair mortar. Form 20–25 mm fillets at wall/floor junctions and around service penetrations to reduce stress and capillary paths.
Pre-dampen masonry to SSD (no standing water) so the mix doesn’t flash-dry. Mix tanking slurry to the manufacturer’s ratio, drill-paddle only, no retempering.
Apply your first waterproof coating by brush, working it into pores and joints. Follow cure-time and thickness requirements.
Perimeter Drainage Solutions
If hydrostatic pressure keeps pushing groundwater against your cellar walls, you’ll keep chasing damp no matter how good your internal tanking is, so add perimeter drainage to intercept water and relieve that load.
Excavate to footing level where feasible, install a perforated pipe to falls (typically 1:100), and bed it in washed gravel wrapped in geotextile to prevent silt clogging.
Discharge to a lawful outfall: storm sewer with consent, soakaway sized to percolation tests, or a pump chamber where gravity can’t work.
Keep drains outside the wall line, protect services, and reinstate with free-draining backfill.
Tie perimeter drainage into your Foundation waterproofing strategy by adding an external coating and protection board, plus inspection points for maintenance access.
Cavity Membrane Systems
While tanking tries to block water at the wall, a cavity membrane system accepts that some moisture may still get through and instead controls it behind a studded HDPE lining. This lining directs the moisture to a perimeter channel and sump for removal. You’ll fix it as a managed drainage layer, not a sealant.
You install the Cavity membrane continuously across walls and floor, lap and tape joints, and seal around penetrations to keep the system airtight and reliable. You link it to compliant perimeter drainage, fit inspection ports for maintenance, and specify a sump with high-water alarm and backup if flooding risk exists.
You then add an internal moisture barrier and insulated framing that maintains a service void, so electrics and plasterboard stay dry and meet moisture-resilient detailing requirements.
Insulate Floors, Walls, and Ceilings for Warmth
Once your damp control’s locked in, you’ll insulate the envelope so heat stays put and surfaces don’t hit dew point.
On walls, you’ll use moisture-resistant assemblies (e.g., XPS/PIR or closed-cell spray foam with sealed seams and a compliant ignition/thermal barrier where required) and keep the vapor control layer continuous at joints and penetrations.
Underfoot, you’ll pick a thermal break (rigid foam above slab, insulated sleepers, or an insulated subfloor system).
You’ll air-seal the ceiling plane with gasketed framing, taped membranes, and fire-rated sealant around joists, ducts, and recessed fixtures.
Moisture-Resistant Wall Insulation
Because cellar walls constantly exchange moisture with the surrounding soil, you’ll get a warmer, more durable living space by treating insulation as part of a moisture-control assembly, not a standalone layer.
Start by confirming the wall is sound: patch cracks, repoint mortar, and address bulk water at the exterior when possible.
Then install code-appropriate moisture barriers, typically a continuous vapor retarder on the warm-in-winter side, and tie it into rim-joist air sealing.
Choose insulation materials that won’t wick water: closed-cell spray foam, rigid XPS/EPS, or mineral wool behind a drainage plane.
Keep wood framing off concrete with a capillary break, and use pressure-treated bottom plates.
Maintain required clearances to ignition and thermal barriers per IRC R316, and don’t trap dampness with double vapor layers.
Underfloor Thermal Barrier Options
If you leave the cellar floor and the band-joist area uninsulated, you’ll feel cold “radiate” up through the slab and lose a surprising amount of heat at the perimeter.
For slabs, add rigid foam (EPS or XPS) above the concrete, tape seams, then install a floating subfloor; keep foam thickness within door and stair clearances and meet local R-value requirements.
At the slab edge, extend foam to the top of the footing to create continuous thermal barriers.
If headroom’s tight, consider a dimple mat plus thin foam and insulated underlayment.
For framed floors over crawl pockets, dense-pack cellulose or mineral wool between joists, then cover with an approved thermal barrier where code requires.
Choose Insulation materials rated for below-grade moisture.
Ceiling Air-Sealing Techniques
Even with high‑R insulation in the floor and walls, uncontrolled air leaks at the cellar ceiling can dump warm air into the joist bays and rim area, leaving the new living space drafty and hard to heat.
Start by sealing penetrations: wiring holes, plumbing, flues, and duct chases. Use fire-rated sealant at metal chimneys and maintain required clearances per code.
At the rim joist, cut rigid foam to fit, foam the edges, and tape seams to stop air leakage. If you’ve got recessed cans above, replace with IC/AT fixtures or build sealed, fire-safe covers.
After air-sealing, install ceiling insulation tight to the subfloor, support it with netting, and keep any required ventilation paths clear.
Verify with a blower door.
Choose a Cellar Conversion Heating Setup
While you’re planning lighting and layouts, lock in a heating setup early so the room stays consistently comfortable without creating damp or condensation issues.
For most conversions, you’ll choose between extending your hydronic radiators, installing electric underfloor heating, or adding a ductless mini-split heat pump.
Size it from heat-loss calculations, not guesswork, and confirm your panel has spare capacity if you’re going electric.
Keep controls simple: a dedicated thermostat and zoning so the cellar doesn’t overheat the rest of the house.
Maintain required clearances around appliances and follow local code for any gas-fired equipment.
Underfloor heat keeps walls free for vintage cellar decor and avoids hot spots, while steady radiant warmth supports cellar aromatherapy without scorched oils.
Ventilate Properly to Prevent Mould and Odours

You’ll need ventilation that matches your cellar’s layout and occupancy—extract-only, balanced MVHR, or a simple supply/extract combo—so you hit the air-change rate and keep moisture moving out.
Control humidity and condensation by targeting ~40–60% RH with continuous extract, a dehumidistat, and insulated cold surfaces so vapour doesn’t hit its dew point.
Then purge stale-air odours with steady airflow, sealed sumps/drains, and replaceable filters so yesterday’s musty air can’t recirculate.
Choose The Right Ventilation
Because a cellar sits below grade and tends to trap cool, damp air, you need ventilation that actively moves moisture out instead of just “airing it out.” Start by sizing airflow to the room volume (target a steady 0.5–1.0 air changes per hour for day‑to‑day use, more if you’ll cook, shower, or dry laundry).
Then decide between continuous mechanical extract, supply‑and‑extract, or an HRV/ERV if you’re insulating and air‑sealing heavily.
Prioritise Air quality: duct stale-air pickups near bathrooms, laundry, and any kitchenette, and bring supply air to occupied zones. Use backdraft dampers on exhaust, and terminate vents per local code clearances from windows and intakes.
If you rely on natural ventilation, pair it with trickle vents or window vents, but don’t count on it alone in winter. Test commissioning airflow.
Control Humidity And Condensation
Even with good airflow, a cellar can still hit dew point on cold masonry and ductwork, so you need to control humidity as a system, not a symptom. Target 45–55% RH, and keep surfaces above dew point by insulating rim joists, sealing penetrations, and wrapping cold water lines.
Size capacity to pints/day and drainage path. For dehumidifier options, choose a ducted unit tied to returns for whole-area pull, or a standalone with condensate pump to a trapped drain; follow manufacturer clearance and GFCI rules.
Add moisture sensors: place one mid-room and one near the coldest wall, then log RH/temp to tune fan runtime. Use a hygroswitch or smart controller so it doesn’t short-cycle.
Eliminate Stale Air Odours
Dialling in RH stops moisture damage, but it won’t clear that “cellar smell” if the air still sits and recirculates the same VOCs and spores.
You need controlled ventilation: install a continuous, low-sone exhaust or an HRV/ERV sized to the room volume, then verify airflow with a hood or anemometer. Keep supply and return paths clear; undercut doors or add transfer grilles so you don’t depressurize combustion appliances.
Follow local mechanical code for minimum air changes and duct terminations.
Add Air purification where ventilation can’t keep up: a HEPA unit plus activated carbon targets particulates and odours. For scent absorption, use carbon media in vents or standalone canisters, and replace on schedule.
Seal exposed dirt and damp masonry to cut sources.
Plan Electrics and Lighting (Wiring, LEDs, Sockets)
Once you’ve finalised the cellar’s layout and moisture plan, map the electrics and lighting as a dedicated circuit design rather than an afterthought. Run a new radial or ring from the consumer unit if your loads justify it, and label everything. Use RCD/RCBO protection, correct cable derating for insulation, and maintain safe zones in walls and ceilings to meet electrical safety expectations.
Place double sockets where furniture actually lands, plus a few high-level outlets for Wi‑Fi, AV, or dehumidifier control. Specify fire-rated downlights if you’re penetrating ceilings, and choose dimmable LEDs with compatible drivers to avoid flicker. Add smart lighting with manual override, and keep switches at the stair entry and main seating area.
Always test, certify, and document the install.
Add Plumbing and Drainage (Bathrooms, Utility, Pumps)
After you’ve pinned down circuits and lighting runs, set out the plumbing and drainage routes with the same “draw it first” discipline, because underground services are expensive to move later. Keep fixture groups tight to reduce pipe runs, falls, and noise, and confirm headroom for soil stacks and venting.
Tie into existing stacks where possible, but don’t skip vent requirements or trap depths—inspectors won’t. If the cellar sits below the sewer invert, plan a sealed sewage ejector or macerator with an accessible isolation valve, non-return valve, and alarm.
Build proper drainage solutions: a floor gully, a sump, and a pump sized for peak flow with battery backup if flooding’s a risk. Coordinate penetrations with Waterproof membranes so you can collar and seal every pipe pass-through properly.
Pick Durable Cellar Walls and Flooring Finishes
Because cellars stay cooler and see more moisture movement than upper floors, you’ll get better long-term results by choosing finishes that tolerate vapour, minor damp events, and impact without trapping water against the structure.
For walls, use mineral paint, lime plaster, or moisture-rated panels on furring that leaves a capillary break; avoid vinyl wallpaper and paper-faced drywall on masonry.
If you frame, keep the bottom plate treated, isolate it from concrete, and follow local fire-blocking and egress rules.
Add decorative wall finishes like cementitious skim coats, tile wainscots, or removable slat systems that let you access services.
For floors, pick stylish flooring options such as porcelain tile, sealed concrete, or engineered vinyl on an insulated subfloor; avoid carpet pads that hold moisture.
Include expansion gaps and compatible adhesives.
Frequently Asked Questions
Will Converting My Cellar Increase My Home’s Resale Value?
Yes, you’ll likely boost resale value if you add permitted square footage, meet egress and ceiling-height codes, and document Historic preservation. You’ll also improve Environmental impact with insulation, vapor control, efficient HVAC, and drainage.
Can a Cellar Conversion Reduce Noise From the Rest of the House?
Yes—you can turn your cellar into a quiet harbor. Use soundproofing techniques: resilient channels, decoupled stud walls, and sealed penetrations. Add insulation options like mineral wool. Meet STC goals, follow fire-blocking, and local code requirements.
What Cellar Room Types Add the Most Day-To-Day Usability?
You’ll get the most daily usability from a home office, guest suite, laundry/mudroom, gym, or media room. Prioritize Basement insulation and Moisture control, meet egress and ceiling-height codes, and add dedicated circuits and ventilation.
How Can I Keep Mobile and Wi‑Fi Signal Strong Underground?
Boost bars below by placing Signal boosters near a window well and routing an antenna down. Add Wireless extension via PoE-powered access points. Map RSSI with WiFiAnalyzer, lock channels, and hardwire backhaul.
Will a Converted Cellar Affect My Home Insurance Premiums?
Yes, it can raise premiums if you increase livable square footage, add Basement lighting circuits, or skip permits. You’ll often lower risk with documented Waterproofing solutions. Call your insurer, update rebuild value, file certificates.
Conclusion
Once you’ve checked headroom, access, and structure, and you’ve lined up permits, regs, and inspections, the real test starts. You fix damp first—tanking, perimeter drainage, or a cavity membrane—because everything else depends on it. Then you insulate, seal, and ventilate to hit U-values, avoid condensation, and keep mould out. Wire and light to spec, add plumbing with pumps if needed, and choose moisture-tough finishes. Do it right, and the cellar won’t just change—it’ll perform.