You probably don’t know your landing’s “usable depth” shrinks fast once you factor in door swing arcs, rail clearances, and code-friendly walkway width. Start by measuring length, width, and ceiling height, then map vents, outlets, and traffic paths so you don’t build a bottleneck. Next, choose a layout that anchors a desk, lighting, and storage without stealing circulation. The key decision comes when you compare zone sizes against power and Wi‑Fi reach…
Measure Your Landing and Traffic Path
Before you move a single piece of furniture, measure the landing’s full footprint and map the primary traffic path you need to keep clear. Use a tape and sketch a quick plan with length, width, ceiling height, and door swing arcs.
Record constraints: outlets, radiators, stair rails, and any fixed trim you can’t relocate. Note the landing material (hardwood, tile, carpet) because it affects chair clearance, rolling resistance, and where you can place pads or runners.
Define a minimum clear corridor width and mark it with painter’s tape to protect traffic flow during work hours. Then calculate usable work-zone area by subtracting the corridor and swing zones.
Recheck measurements at two points to catch out-of-square walls. Save the plan for layout tests later.
Check Safety Basics for a Landing Work Zone
With your measurements and taped traffic corridor in place, run a quick safety check so the landing works like a work zone, not a bottleneck. Verify the corridor stays continuous from stair to stair and remains free of cords, carts, and stacked materials. Confirm walking clearance meets your site minimum (record the width) and that turning points don’t force blind merges.
Next, validate visibility: place Safety signage at both approaches, aligned to eye level, and confirm it’s readable from your measured distance. Check lighting levels where you’ll stage tasks; replace failed bulbs and note dark spots.
Locate Emergency exits, then confirm they’re unobstructed, unlatched as required, and still meet the marked egress width. Finally, test a two-person pass-through during a typical carry load and log any pinch points.
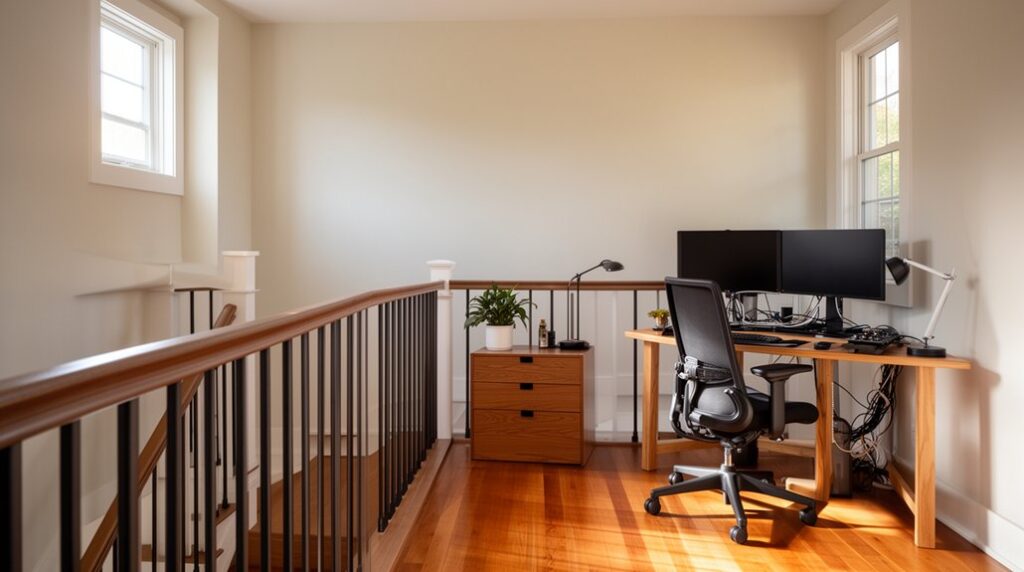
Choose the Best Landing Work Zone Setup
Where should you position the work zone so it keeps traffic moving while still giving you reliable staging space? Start by mapping the landing’s traffic lines: measure peak pass-through width and preserve a clear corridor, then place your desk zone on the low-interference edge. Prioritize corners that reduce cross-traffic and allow quick entry/exit without bottlenecks.
Next, define a compact footprint: desk, chair, and one staging surface, aligned parallel to the wall to minimize protrusions. Use Outdoor ventilation strategically by choosing the spot with the best air exchange but minimal drafts on papers.
Lock in ergonomic seating with adjustable height and lumbar support, and set chair clearance to avoid collisions. Finally, run a 10-minute walk test at busy times and iterate.
Plan Power, Lighting, and Wi‑Fi on the Landing
Once you’ve locked in the desk footprint and kept the main corridor clear, set up the landing’s utilities so the space runs like a real workstation instead of a temporary perch.
Start with Power management: map every device’s wattage, then choose a surge protector with a 15A rating and a 10–12 ft cord so you don’t create trip loops. Route cables along the baseboard with adhesive clips and label each plug for faster resets.
For lighting, target 300–500 lux on the work surface; add a dimmable task light and use 4000K LEDs to cut eye strain.
For Wireless connectivity, run a speed test at the landing; if you’re below 50 Mbps or see drops, reposition the router or add a mesh node.
Pick a Landing Desk That Truly Fits
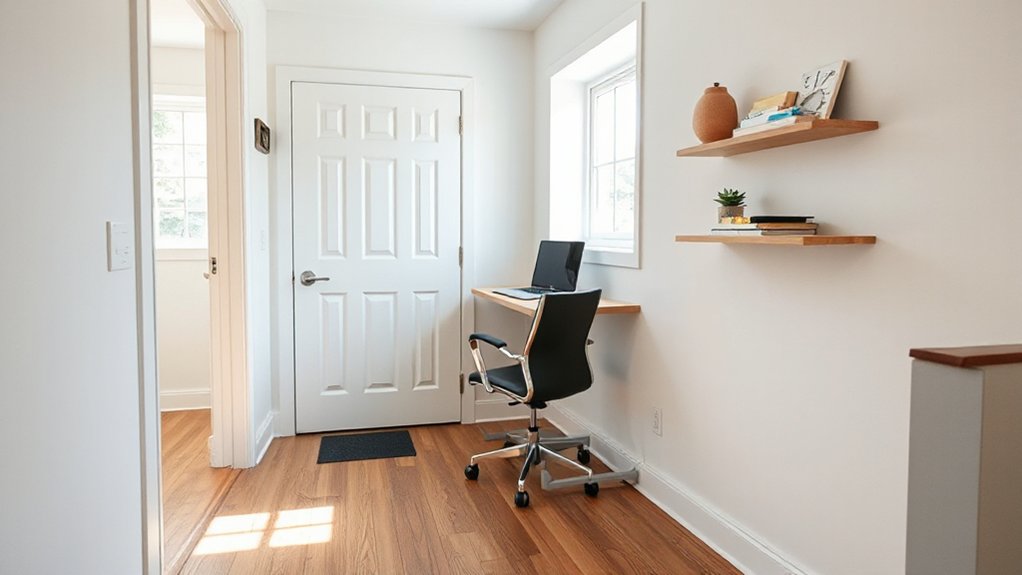
Start by measuring your landing depth to the nearest 1/8 inch, then subtract the minimum clear walkway you need for safe traffic flow.
Use that number to set a hard max desk depth and skip anything that forces a pinch point.
Choose a slim desk with built-in storage so you keep essentials contained without expanding the footprint.
Measure Landing Depth Precisely
Before you shop for a landing desk, lock down the landing depth with measurements you can trust, because even a 1–2 inch error can turn “fits on paper” into a daily bottleneck.
Clear the landing surface, then mark the usable edge-to-edge zone: wall to railing, trim to trim, or baseboard to nosing.
Use consistent measurement tools—a steel tape for long runs, a square to confirm 90° corners, and a straightedge to bridge gaps over molding.
Measure at three points (left, center, right) and record the minimum depth; that’s your hard limit.
Note obstructions like door swings, vents, and outlets, and subtract clearance for chair pull-back and walking path.
Photograph each measurement with the tape visible so you can verify later.
Choose Slim Storage Desk
With your minimum depth number in hand, you can now shortlist slim storage desks that fit without stealing the walking path. Filter products by actual top depth (not rounded listings) and keep at least 30–36 inches of clear passage.
Target a compact design: 14–18 inch depth, 30–48 inch width, and a rigid frame rated for your monitor load.
Next, check built-in storage that stays within the footprint: a shallow drawer, vertical file slot, or under-top cubby beats side cabinets that flare into traffic.
Validate the surface height (28–30 inches) and plan an ergonomic setup: keyboard tray or slim riser to keep elbows near 90 degrees.
Finally, confirm cable grommets and a rear lip for cord routing.
Measure twice, order once.
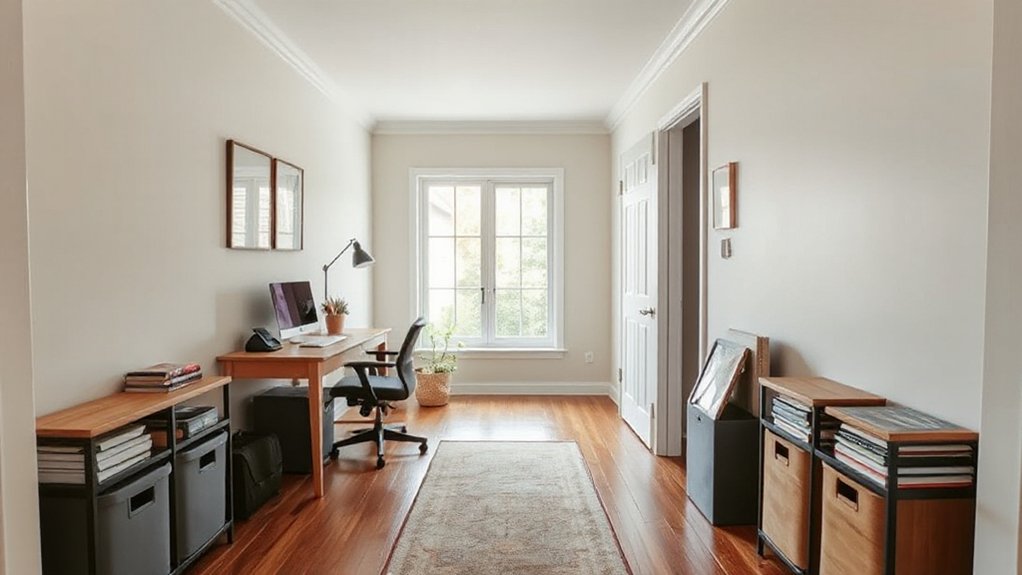
Add Landing Storage Without Blocking Traffic
To add storage on a large landing without slowing movement, start by choosing slim-profile pieces (8–12 inches deep) that hold essentials without protruding into the corridor.
Keep a consistent walking path by measuring traffic width and maintaining at least 36 inches of clear clearance from stair to door.
Then shift capacity upward by using vertical wall space—tall cabinets, rail systems, and floating shelves—so you increase storage volume without increasing the footprint.
Slim-Profile Storage Options
Although your landing may feel like wasted square footage, you can turn it into high-performing storage by prioritizing slim-profile pieces that keep a clear walking lane.
Start by measuring depth: aim for 10–14 in. for most items, and cap at 16 in. if you’re storing binders or small tool cases.
Choose compact shelving with adjustable standards so you can tune shelf spacing in 1–2 in. increments and cut wasted vertical air.
Next, deploy modular units that stack or link, letting you scale capacity without swapping furniture.
Use wall-rail systems to shift bins and hooks as your workload changes.
Favor closed-front boxes for visual noise control and faster resets.
Standardize container sizes to speed labeling and retrieval.
Maintain Clear Walking Paths
Because circulation beats capacity every time, you should lock in a consistent walking lane first—target 30–36 in. clear (36 in. if two people pass). Then treat everything outside that corridor as eligible storage.
Tape the lane on the floor for a week and track pinch points at peak traffic.
Keep storage depth to 12–15 in. on the storage side and set a hard “no overhang” rule for baskets, handles, and lids.
Choose pieces with rounded corners and closed fronts so you don’t snag clothing or knees.
Place frequently used items at hip-to-shoulder reach to reduce detours; reserve low zones for backups.
Add Decorative accents only if they sit flush.
Park ergonomic accessories inside bins, not drifting into the lane.
Use Vertical Wall Space
Where can you add storage without stealing a single inch from your walking lane? You use vertical wall space. Start by mapping a 72-inch-high “work band” on the wall nearest your desk or drop zone.
Install wall mounted solutions in tiers: hooks at 48–60 inches for bags and headphones, a shallow shelf at 60–66 inches for bins, and a magnetic strip or pegboard at 54–66 inches for tools and cables. Keep depth under 6 inches to prevent shoulder bumps.
Next, label every container and assign one category per square foot to reduce search time. Finally, track usage for two weeks; move top-10 items to the easiest reach zone and demote rarely used gear upward.
That’s vertical organization without traffic loss.
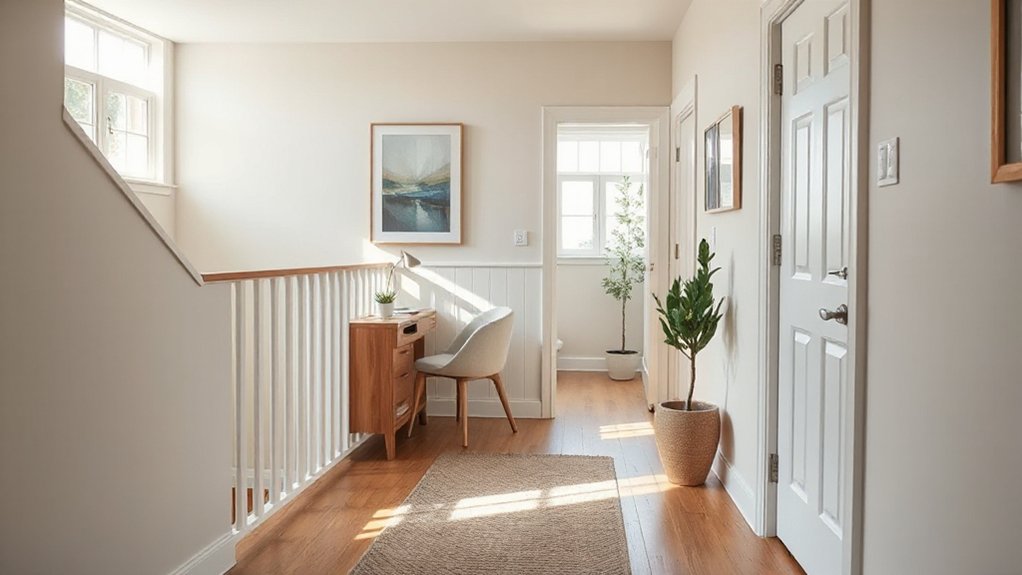
Use Rugs and Layout to “Zone” the Landing
If your landing feels like a wide-open buffer between rooms, use rugs and furniture placement to assign clear job zones fast. Start by mapping your traffic flow: measure the primary path width (aim for 36–42 inches) and keep it rug-free to prevent bottlenecks.
Then place area rugs to “lock in” functions—one under a desk and chair footprint, another under a storage or sorting surface. Align rug edges parallel to walls so zones read instantly and furniture legs stay stable.
Use the rug size to enforce boundaries: front legs on, back legs off if you need tighter limits; all legs on for a dedicated workstation. Finally, angle seating inward and keep corners open to maintain clearance and speed movement.
Style Your Landing Work Zone to Blend In
To keep your landing work zone from reading like an add-on, set a tight style spec and apply it consistently across the visible surfaces. Start with a 3-color palette pulled from adjacent rooms; use color coordination for the desk, chair, and storage fronts, then repeat one finish (oak, black metal, or white lacquer) at least three times.
Next, standardize proportions: match shelf thickness to baseboard height, and keep hardware in one shape and sheen. Limit open-storage exposure to 20–30% so visual noise stays low; hide the rest behind doors or bins.
Add decorative accents only where they do functional work: a pinboard that mirrors frame colors, a task lamp that matches stair lighting, and two identical containers that control cable clutter.
Frequently Asked Questions
Do I Need a Permit to Use a Landing as a Home Office?
You might need a permit, depending on your city’s building codes and zoning regulations. Check occupancy classification, egress, electrical load, and fire safety. Verify HOA rules, then document workspace size and usage for compliance.
How Can I Reduce Noise From Calls Traveling Between Floors?
Like a telegraph, you’ll cut cross-floor call noise by sealing gaps, adding dense door sweeps, rugs, and acoustic panels. Apply soundproofing strategies: weatherstrip, mass-loaded vinyl, soft furnishings. Use call privacy solutions: white-noise, headset.
What Are the Best Ways to Manage HVAC Comfort on an Open Landing?
You’ll manage HVAC comfort on an open landing by implementing HVAC zoning, sealing leaks, balancing dampers, and using smart thermostats with sensors. Prioritize Ventilation optimization: measure airflow/temps, adjust registers, add returns, and schedule runtimes.
How Do I Keep Sensitive Documents Secure in a High-Traffic Landing Area?
Lock, log, limit: you’ll keep sensitive documents secure by using Document security protocols—locked cabinets, badge-controlled drawers, and shredding bins—plus Privacy barriers like screen filters and partitions. Audit access daily, track checkouts, and minimize paper handling.
Will a Landing Work Zone Affect Home Resale Value or Appraisal?
Yes, it can, but you’ll usually protect resale/appraisal if you document reversible changes, maintain landing safety, and guarantee aesthetic integration. You’ll track comparable sales, keep permits, and stage clutter-free so appraisers score functionality.
Conclusion
You’ve turned that “in‑between” landing into a quiet, high‑performance work zone by measuring dimensions, mapping traffic flow, and tidying safety details. You’ve chosen a desk that fits the footprint, added storage that stays out of the lane, and zoned the area with a rug so movement stays smooth. You’ve routed power, lighting, and Wi‑Fi like a clean utility upgrade, then finished with styling that lets the setup politely disappear into your home.