You’ve got a fresh set of keys and a list of hidden risks. You start with a move-in walkthrough and document issues by system—roof, electrical, plumbing, HVAC—then you schedule licensed inspections where needed. You fix safety and code problems before any cosmetic upgrades, and you build a first-year budget with an emergency cushion and permit fees. Once you map the repair order and decide what you can DIY safely, the next step gets specific…
Do a Move-In Home Improvement Walkthrough
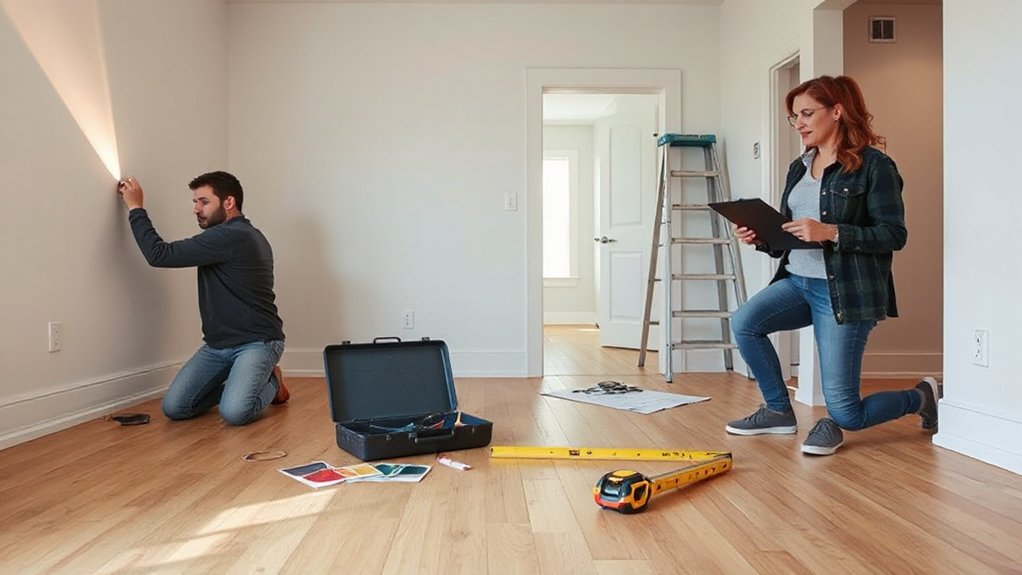
Before you unpack, do a move-in walkthrough to document the home’s current condition and catch any safety or code issues that need immediate attention. Photograph every room, appliance, and exterior elevation; time-stamp files and note meter readings.
Test GFCI/AFCI receptacles, confirm smoke/CO alarms are installed, powered, and within date, and verify handrails and guards feel secure. Check shutoff valves, confirm the main water and gas shutoffs are accessible, and label the electrical panel.
Look for active leaks, missing caulk at wet areas, and cracked glazing. Record HVAC filter size and thermostat operation.
Use your notes for Decorating tips and Furniture placement so you don’t block egress paths, supply registers, or required clearances around panels and water heaters.
Fix These Repairs Before Any Upgrades
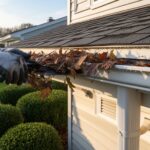
Once your walkthrough notes are in hand, tackle repairs that affect safety, water intrusion, and system reliability before you spend money on finishes. Start with roof leaks, flashing, gutters, and grading so water drains 6 feet away.
Next, address electrical hazards: replace double-tapped breakers, add AFCI/GFCI where required, cap open junction boxes, and verify smoke/CO alarms on each level.
Fix plumbing leaks, confirm water heater TPR discharge piping, and replace damaged shutoffs.
Test HVAC operation, change filters, and correct blocked combustion vents.
Patch exterior rot, seal penetrations, and ensure handrails and stair guards meet height rules.
For DIY safety, shut off power/water, use PPE, and pull permits when codes require.
Log costs now for smarter budget planning later.
Build a First-Year Home Improvement Budget + Cushion
Price out your year-one repair needs—roofing, electrical, plumbing, HVAC, and any code-required corrections—using inspections, contractor quotes, and permit fees so you’re not guessing.
Put those numbers into a line-item budget and schedule the safety-critical work first.
Then set aside an emergency cushion for hidden defects and urgent failures so you can fix hazards fast without cutting corners.
Estimate Year-One Repair Costs
Even if your inspection report looks clean, you should budget for year-one repairs because normal wear, deferred maintenance, and code-required updates can surface fast after move-in.
Start cost estimation by listing safety-critical systems: roof leaks, active plumbing drips, faulty breakers, missing GFCI/AFCI protection, damaged handrails, and inoperable smoke/CO alarms. Get written quotes for each item, plus permit and inspection fees where required.
Next, prioritize work that reduces risk and prevents water intrusion. Use budget planning to separate “must-do” corrections from “nice-to-have” upgrades.
Confirm materials meet local code (wire gauge, venting, combustion air, clearances) and don’t DIY tasks that require licensed trades.
Track unit costs (per fixture, per linear foot, per square) so you can refine numbers as bids come in.
Set Aside Emergency Cushion
How much cash should you reserve for the repairs you didn’t see coming? Set an emergency cushion equal to 1%–3% of your home’s purchase price, or at least one month of take-home pay, whichever is higher. Keep it liquid in a separate account so you don’t raid project funds.
Tie the cushion to Financial planning: list critical systems (roof, plumbing, electrical, HVAC, water heater) and price common failures using local licensed contractor rates.
For Emergency preparedness, stock cash for code-required fixes you can’t defer, like active leaks, tripped breakers, sewer backups, or failed smoke/CO alarms. Add permit fees, inspection rechecks, and a 10% contingency for materials. Replenish the fund after each repair.
Handle Safety, Security, and Code Issues First
Before you pick paint colors or new fixtures, start by fixing anything that could injure someone, invite a break-in, or fail an inspection.
Schedule safety inspections for smoke/CO alarms, GFCI/AFCI protection, panel labeling, and exposed wiring.
Confirm handrails, guardrails, and stair lighting meet current requirements, and repair loose treads or trip hazards.
Check plumbing for active leaks, improper venting, and missing shutoff valves; address water-heater TPR discharge and seismic strapping where required.
Test HVAC combustion safety and verify proper venting and clearances.
Tighten the building envelope: replace damaged locks, reinforce strike plates, and add exterior lighting and cameras as targeted security upgrades.
Document corrections and keep receipts for future resale and insurance.
Plan Your Project Order (Permits, Pros, Timing)
Once you’ve addressed urgent safety and code defects, map your projects in the order that controls risk, inspections, and rework. Start with items that open walls, affect structure, or tie into utilities, since they trigger inspections and can force costly tear-outs later. Group related trades so rough-in work, insulation, and close-up happen once.
Next, confirm the Permit process early: check scope, submittals, lead times, required drawings, and inspection sequence with your local building department. Build your schedule around approval windows, utility shutoffs, and weather-sensitive work like roofing and exterior flashing.
For contractor selection, verify licensing, insurance, and permit responsibility, and align start dates with material lead times. Keep a written scope, change-order procedure, and inspection sign-offs before final payment.
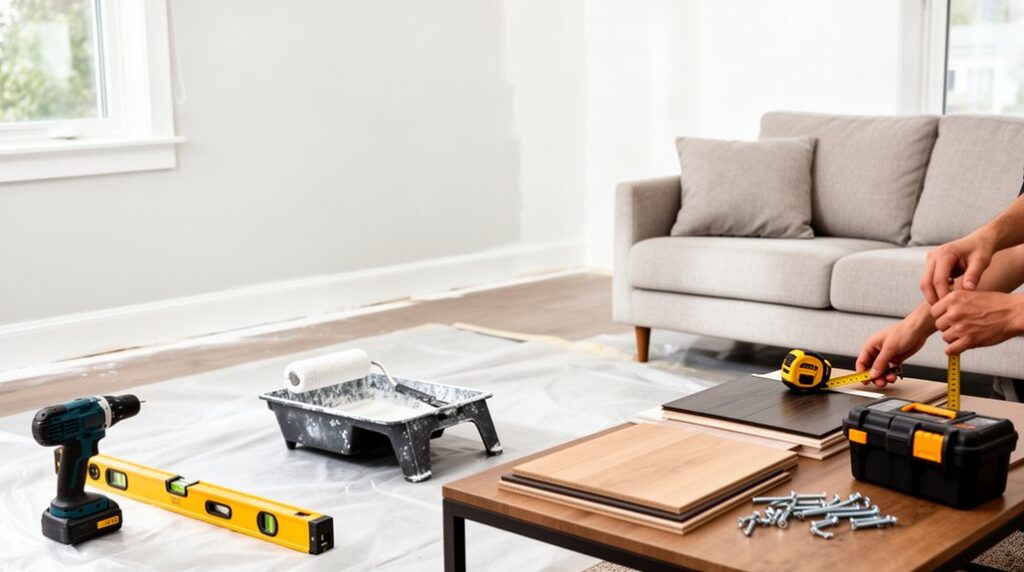
DIY vs Pro: A Home Improvement Decision Checklist
Although DIY can save money and build confidence, you should treat every project like a risk-and-compliance decision first. Start with the scope: does it touch structure, gas, main electrical, roofing, or plumbing behind walls? If yes, check permit triggers and schedule a licensed pro.
Next, assess consequences: could a mistake cause fire, flooding, mold, or injury? If so, prioritize DIY safety and hire out.
Run a capability check: you’ve got the right tools, PPE, ladder practices, and manufacturer instructions. Confirm shutoffs, load limits, and GFCI/AFCI requirements.
For DIY, document materials, torque specs, and inspections.
Finally, compare time and rework risk against Professional costs, including mobilization, disposal, and warranty. If you can’t verify code compliance, don’t DIY.
Home Improvements That Add Value (Without Overdoing It)
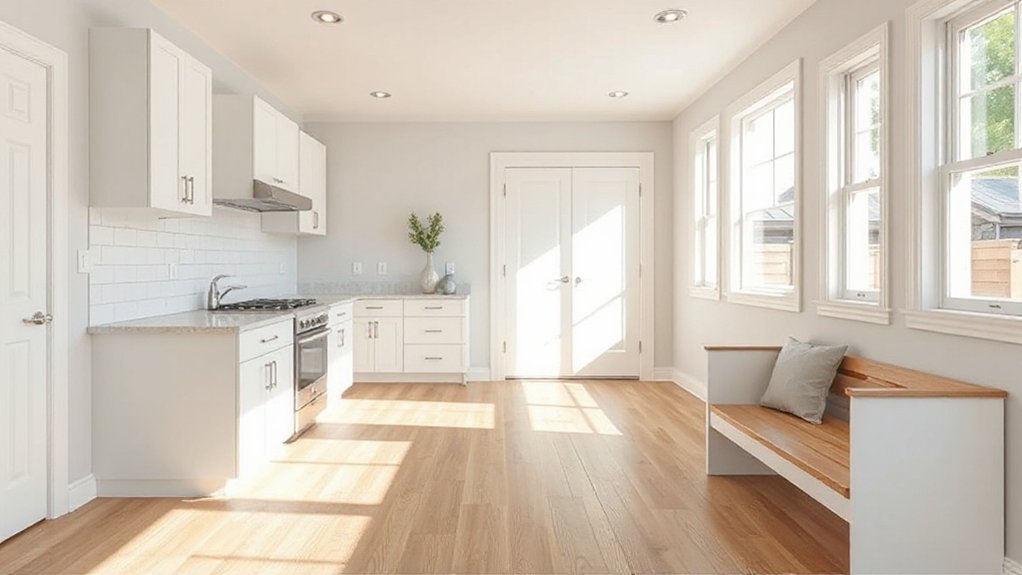
When you focus on upgrades that buyers and appraisers actually recognize, you’ll add value without sinking money into over-custom work that’s hard to recoup. Start with repairs that protect the building envelope: fix roof leaks, improve grading and drainage, and seal penetrations to prevent moisture and mold.
Prioritize energy efficiency with code-compliant air sealing, attic insulation to local R-values, and a programmable thermostat. If you replace windows, pull permits where required and maintain egress and tempered-glass rules near tubs and doors.
In kitchens and baths, choose midrange fixtures, GFCI/AFCI protection, and proper ventilation ducted outdoors.
Add Landscaping enhancements that improve curb appeal while keeping slopes away from the foundation and using non-slip paths. Document permits, inspections, and warranties to support valuation later.
Frequently Asked Questions
What Renovations Require HOA Approval in My Neighborhood?
You’ll typically need HOA approval for exterior changes: paint, roofing, windows, fences, sheds, decks, landscaping, driveways, lighting, and satellite dishes. Check Neighborhood regulations and HOA restrictions, submit plans, permits, and schedules, and follow safety codes.
How Can I Match New Finishes to the Home’s Original Style?
If you’re updating a 1920s bungalow, you’ll sample trim profiles and stain first. For matching finishes, document existing materials, compare sheen/undertones under task lighting, and use style coordination with period-appropriate hardware, rated, code-approved products.
Which Upgrades Improve Accessibility for Aging-In-Place?
You’ll improve aging-in-place access with stairlift installation on code-clear stairs, zero-threshold entries, wider doors, lever handles, brighter lighting, and non-slip flooring. Add securely anchored bathroom grab bars, comfort-height toilets, and walk-in showers.
How Do I Document Improvements for Future Resale Disclosures?
After your kitchen rewire, you’ll keep permits, inspections, invoices, and before/after photos in a labeled folder. Document contractor selection notes, warranties, and Home warranties. Record dates, materials, model numbers, and code references to support disclosure.
What Financing Options Exist for Renovations Beyond Savings?
You can finance renovations with loan options like cash-out refinance, home equity loans, or personal loans, plus credit lines such as HELOCs. Verify lender requirements, pull permits, maintain contingency reserves, and avoid overleveraging.
Conclusion
As you walk through, you notice what’s urgent, and it’s the same list inspectors flag: roof, wiring, plumbing. As you budget, you set a cushion, and it’s the same buffer that keeps small leaks from becoming big repairs. As you secure doors, test alarms, and check GFCIs, you meet code, and you meet peace of mind. Then you schedule permits, book pros where needed, DIY what’s safe, and upgrades finally fit.