Coincidentally, the same day you add a smart bulb, you’ll notice your Wi‑Fi drops when a camera comes online. You can avoid that by picking one platform (Alexa, Google, or Apple) and checking Matter support plus Thread/Zigbee bridges before you buy anything. Plan upgrades room by room, starting with lighting control, entry sensors, and a smart lock, then add thermostats and routines. The catch is one small compatibility detail that can break the whole setup…
Pick a Smart Home Platform (Alexa, Google, Apple)
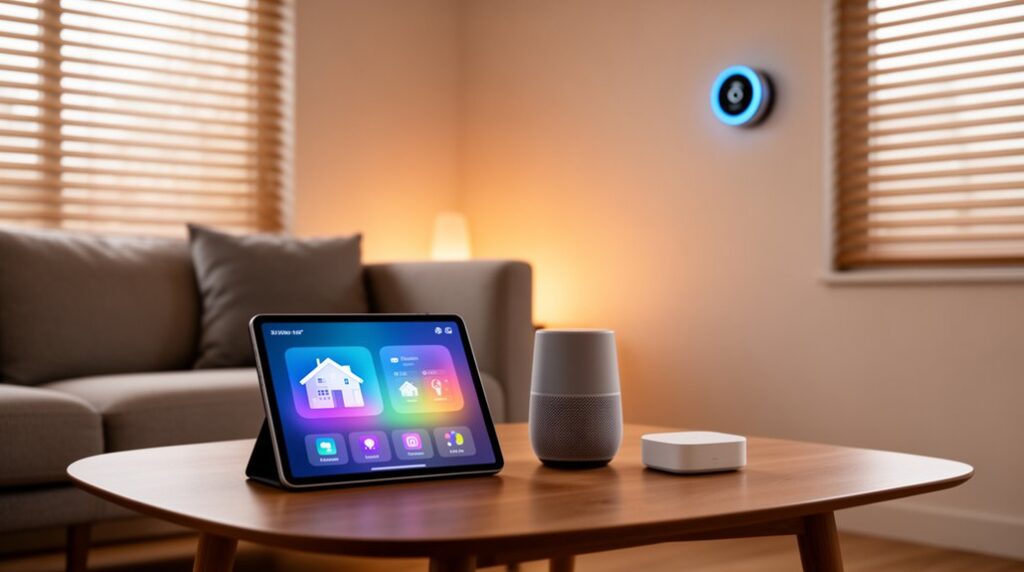
Before you buy a single smart bulb or lock, pick the platform that’ll act as your home’s control layer: Amazon Alexa, Google Home, or Apple Home (HomeKit). Start by auditing what you already use: Echo speakers, Android phones, or iPhones and Macs.
Prioritize Voice assistant integration: Alexa excels at broad device control and skills; Google shines for search-driven routines and natural language; Apple focuses on privacy, local control, and tight iOS automation.
Next, map how you’ll operate it daily—voice, app, or automations—and who needs access.
Choose Smart home hubs that match your tolerance for vendor accounts, permissions, and cloud dependence.
Also check admin features: multi-user support, guest controls, notifications, and scene/routine builders.
Pick once, then standardize your setup.
Matter, Thread, Zigbee, Wi‑Fi: Compatibility Basics
Now you’ll map how devices actually talk: Matter standardizes app-to-device control across ecosystems, while Thread provides a low-power mesh network that often carries Matter traffic.
You’ll also compare Zigbee vs Wi‑Fi interoperability—Zigbee typically needs a hub/bridge to translate to your platform, while Wi‑Fi devices join your router directly but can add bandwidth and reliability constraints.
Once you know which radios and bridges your devices require, you can predict what’ll pair cleanly, what needs a gateway, and where compatibility breaks.
Understanding Matter And Thread
Why do some smart devices pair instantly while others demand hubs, apps, and workarounds? It comes down to Wireless protocols and Device compatibility.
Matter is an application layer: it defines how devices describe capabilities, authenticate, and control each other across brands. If a bulb, lock, and speaker are Matter-certified, you can add them to your preferred controller and expect consistent setup and command models.
Thread is a low-power IPv6 mesh network that Matter can run over, improving local reliability and reducing cloud dependence. To use Thread, you’ll need a Thread Border Router (often built into modern speakers, routers, or hubs) to bridge Thread devices to your home LAN.
Look for “Matter over Thread” labels, and confirm controller support for the device type you’re buying.
Zigbee Vs Wi‑Fi Interoperability
Although Zigbee and Wi‑Fi can both power “smart” devices, they don’t interoperate by default because they use different radios, network stacks, and commissioning flows. Zigbee runs a low-power 802.15.4 mesh; Wi‑Fi uses 802.11 and speaks IP natively. That means a Zigbee bulb can’t join your router, and a Wi‑Fi plug won’t relay Zigbee traffic.
To bridge them, you typically need a hub that terminates Zigbee protocols and exposes devices over IP to your app or to Matter via a bridge. If you want fewer gateways, pick Matter-over-Wi‑Fi devices or Matter-over-Thread endpoints plus a Thread border router.
Consider RF planning: Zigbee channels often overlap 2.4 GHz Wi‑Fi, so heavy Wi Fi bandwidth use can increase retries and latency. Adjust channels and place hubs centrally.
What to Buy First: Priorities by Room and Budget
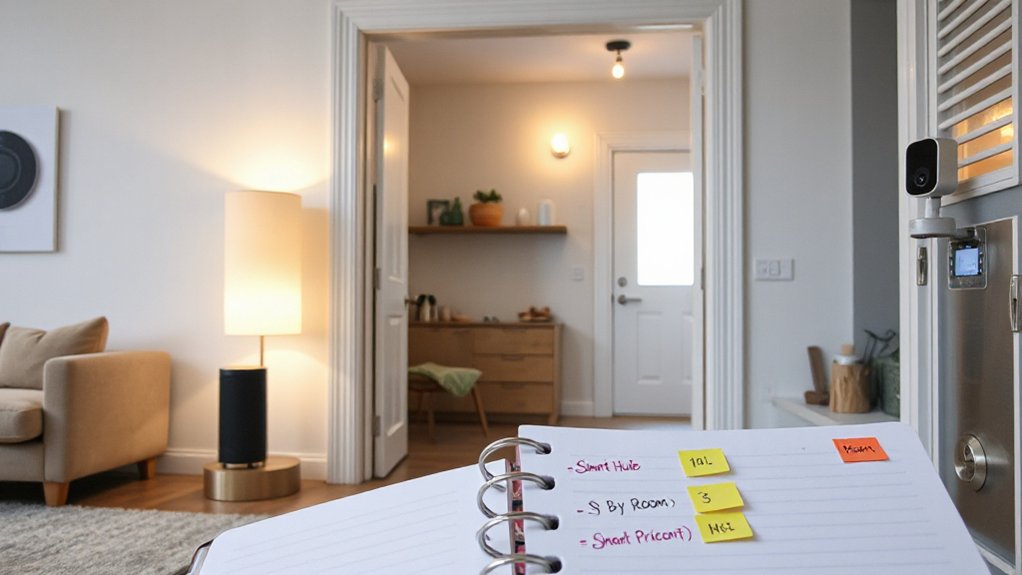
You’ll get the fastest payoff by starting with high-impact devices like a smart thermostat, a video doorbell, and a few occupancy sensors, because they cut energy use and tighten security immediately.
Then you can stage upgrades room by room—entryway and living areas first, kitchen next, and bedrooms last—so your automations build on reliable lighting, presence, and voice control.
Match purchases to your budget tier: basic (hub + bulbs/plugs), mid (locks/cameras + sensors), and premium (whole-home mesh, multiroom audio, and integrated security).
High-Impact Starter Devices
If you start with a few high-impact devices instead of a full overhaul, you’ll get measurable gains in comfort, security, and energy use without blowing your budget.
Begin with a smart thermostat with occupancy sensing and geofencing; it cuts HVAC runtime and gives you trend data.
Add smart plugs with power metering for always-on loads, and a leak sensor near the water heater to prevent costly damage.
For security, choose a video doorbell or indoor cam with local storage and reliable motion zones for pet monitoring.
If you’ve got outdoor needs, a Smart garden controller with soil-moisture input and weather-aware schedules reduces overwatering.
Prioritize devices that support Matter or strong APIs, run on a stable hub, and keep working during Wi‑Fi outages.
Room-By-Room Upgrade Order
Once you’ve nailed a few high-impact starter devices, map upgrades room by room to concentrate spend where automation actually changes daily behavior.
In the entryway, add a video doorbell and smart lock so you can verify arrivals and auto-unlock via geofence.
In the kitchen, prioritize leak sensors under the sink, a smart plug for coffee prep, and a vent/fan switch tied to humidity.
In the living room, upgrade lighting with dimmers and scene presets that preserve Smart home aesthetics by matching bulb color temperature to fixtures.
In bedrooms, add smart shades and occupancy-based bedside lamps to reduce wake-ups.
In bathrooms, install humidity-triggered exhaust control.
Finish in the office with smart power strips and Voice command customization for meeting modes.
Keep firmware and Wi‑Fi coverage consistent throughout.
Budget-Based Buying Tiers
Because budgets vary more than floor plans, the fastest path to a smarter home is to buy in tiers that prioritize safety, reliability, and daily-use automation before “nice-to-have” convenience.
Tier 1 (low budget): start with entry sensors, smoke/CO alarms, and a smart lock; require Data encryption, local fallback, and two-factor accounts. Put these on your front door, hallway, and utility areas first.
Tier 2 (mid budget): add a thermostat, leak sensors under sinks/water heater, and smart lighting in kitchen and primary bedroom; pick devices with schedule-based control and low-latency hubs.
Tier 3 (higher budget): add cameras, doorbells, multi-room audio, and Voice recognition assistants; isolate IoT on a guest VLAN and set retention limits. Test automations quarterly.
Smart Lighting: Bulbs vs Switches vs Plugs
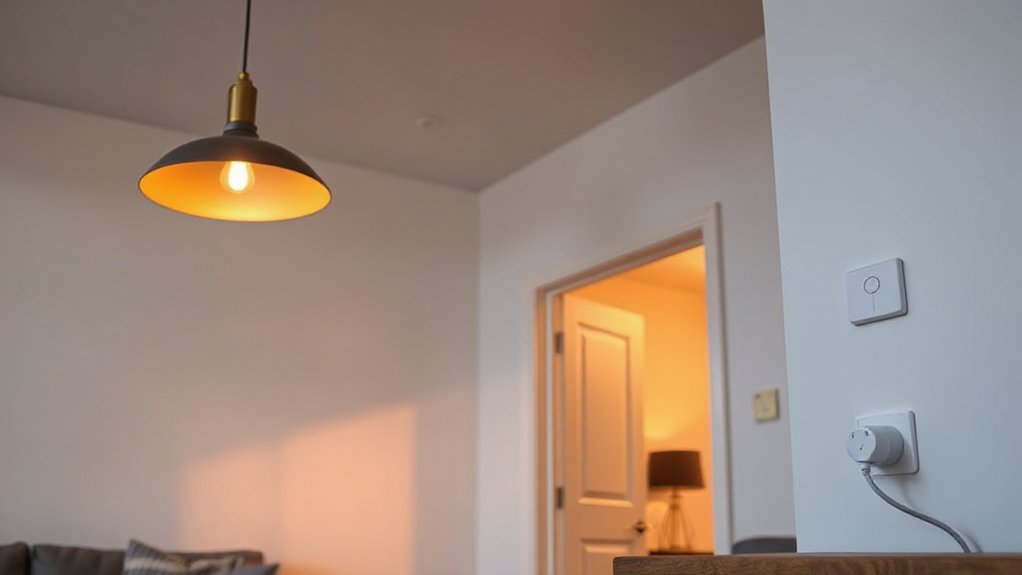
Although “smart lighting” sounds like a single upgrade, you’ll get very different behavior depending on whether you automate the bulb, the wall switch, or the outlet plug.
Smart bulbs give you the most user customization: dimming, tunable white, RGB scenes, and per-lamp schedules. However, they must stay powered, so someone flipping the switch kills control.
Smart switches keep normal wall behavior, control whole circuits, and work well with multiple bulbs. But you’ll need neutral-wire compatibility and proper load support.
Smart plugs add simple on/off scheduling for lamps and small fixtures. Yet, you can’t dim most loads, and bulky adapters may block outlets.
For energy efficiency, pair LEDs with occupancy-based automations and set reliable “off” routines across rooms.
Smart Thermostats and Sensors That Cut Energy Bills
If you pair a smart thermostat with the right room sensors, you can cut HVAC runtime by conditioning spaces based on real occupancy and more accurate temperature readings than the hallway thermostat alone. Place sensors in bedrooms and your most-used living area, then set priority schedules so the thermostat averages only occupied rooms.
Enable geofencing to auto-setback when you leave, and use adaptive recovery so it preheats or precools efficiently instead of blasting at the last minute.
Run a 7-day learning period, then lock in temperature bands (for example, 68–70°F heat, 76–78°F cool) to prevent overcorrection.
Use Energy analytics to compare runtime by weather and tune setbacks.
Add Voice customization for quick “sleep” and “away” commands.
Smart Home Security: Cameras, Locks, and Entry Sensors
Once you’ve tightened HVAC schedules and setbacks, put the same data-driven approach to work on security by instrumenting your doors, windows, and perimeter. Start with contact sensors on every entry and set instant push alerts for open/close, tamper, and low-battery states.
Add a smart deadbolt with auto-lock, PIN codes per user, and time-bounded access for guests; disable remote unlock if you can’t support strong authentication.
Deploy cameras only where you need verification: cover approaches, not neighbors, and tune motion zones to cut false triggers. Prefer local storage or encrypted cloud with short retention to address Privacy concerns.
Before you buy, verify device compatibility with your hub, Wi‑Fi bands, and power options, and test signal strength at mounting points.
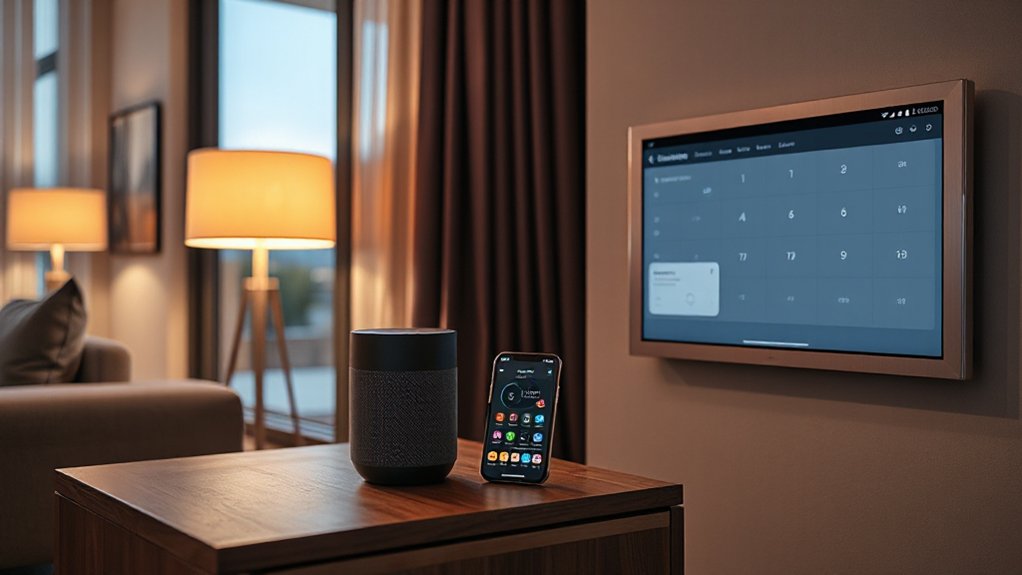
Smart Speakers and Displays: When Voice Control Helps
Because you can’t always reach a phone or wall switch, a smart speaker or display becomes most valuable when it turns quick voice intent into reliable, low-friction control for tasks you repeat daily—timers, room-by-room lighting scenes, thermostat tweaks, and “all off” routines at bedtime.
To make that reliability real, you need strong microphones and predictable acoustics. Prioritize Smart speaker placement: keep units central, 3–5 feet off the floor, away from HVAC vents, clattering dishes, and TVs, and within line-of-sight of where you speak most.
Use a display in kitchens or hallways for glanceable confirmations, but disable always-on cameras if you don’t need them.
Turn on Voice recognition so it distinguishes household members, applies your preferred services, and blocks unauthorized purchases. Regularly review device permissions and mute-mic controls.
Smart Home Routines: 8 Automations You’ll Actually Use
Even with great devices, your smart home won’t feel “smart” until routines tie sensors, schedules, and voice commands into repeatable actions you don’t have to think about.
Use these eight automations:
1) Arrive: geofence turns on entry lights and disarms alarm.
2) Leave: lock doors, arm sensors, set thermostat eco.
3) Good night: Voice command shuts lights, locks, sets HVAC, arms perimeter.
4) Wake: gradual lights, heat to comfort, start coffee plug.
5) Motion nightlight: hallway motion triggers dim lights after sunset.
6) Air quality: CO2/VOC sensor boosts fan or purifier.
7) Leak response: water sensor closes valve and pings you.
8) Media mode: TV on triggers bias lights and soundbar.
Use automation scripting for timing, conditions, and failsafes.
Setup, Privacy, and Maintenance to Avoid Headaches
If you set up your smart home with privacy and upkeep in mind, you’ll spend less time troubleshooting and less time wondering who can see what.
Start by mapping Wi‑Fi coverage, then place hubs centrally and label devices in your app to reduce setup challenges.
Use a separate IoT SSID or guest network, strong unique passwords, and enable WPA3 when available.
Turn on two‑factor authentication for every account, review cloud-sharing settings, and disable microphones/cameras when you don’t need them to cut privacy concerns.
Keep firmware on auto-update, but schedule reboots monthly and check release notes for breaking changes.
Replace batteries on a calendar, test routines after router updates, and document your device reset steps in a note.
Frequently Asked Questions
How Do Smart Home Devices Affect Renters With Strict Landlord Rules?
Strict landlord rules limit smart devices to non-permanent installs, so you’ll prioritize plug-in gear and avoid hardwiring. You must check rental restrictions, choose device compatibility with existing Wi‑Fi, and document removal to prevent fees.
Can Smart Devices Increase Home Resale Value or Attract Buyers?
Yes—you can turn a basic listing into a premium one when you install smart thermostats, locks, and lighting. Prioritize Smart device compatibility and highlight Energy efficiency benefits with utility savings, app control, and warranty-transfer paperwork.
What Smart Home Gear Works Reliably During Power Outages?
You’ll get reliability from a UPS with battery backup powering your router/modem, plus power resistant devices like cellular security cameras, battery smart locks, and Zigbee sensors on a hub that supports local automation.
Are There Health Concerns From Long-Term Exposure to Smart Device Radios?
You’re unlikely to face significant radiation health risks from smart device radios at typical home levels; long term exposure remains below regulatory SAR limits. You can reduce exposure by distancing hubs, disabling unused radios, scheduling Wi‑Fi.
How Do I Insure or Claim Theft of Expensive Smart Home Equipment?
You’ll insure and claim theft by scheduling items or adding an endorsement, keeping receipts/serials, enabling device logs. For Insurance claims, file a police report, document loss. Use theft prevention: anchored mounts, cameras, geofencing.
Conclusion
You don’t need a whole-home overhaul to get real value from smart tech. If you worry it’ll be complicated or risky, start with one platform, stick to Matter where you can, and segment devices on a guest/IoT Wi‑Fi with strong passwords and updates. Add high-impact basics first—locks, entry sensors, and lighting—then automate simple routines that save energy and reduce friction. Done right, your home becomes reliable infrastructure, not a gadget collection.