You can catch damp, mould, or leaks early if you inspect systematically and record what you find. Start room by room and scan walls and ceilings with a torch held at a low angle, then check behind furniture and inside wardrobes for discolouration, bubbling paint, or a musty odour. Verify risk areas around pipe joints, window reveals, and roofline penetrations for tide marks or damp patches. Next, you’ll need to confirm whether it’s moisture, condensation, or an active leak…
Quick Damp and Mould Checks Room by Room
Although damp and mould can originate from a single defect, you’ll spot early indicators faster by running a consistent room-by-room check.
Start in bathrooms: test extractor run-on, confirm trickle vents open, and log condensation persistence after showers to verify Ventilation habits.
In kitchens, check cooker-hood ducting discharge outdoors and note odours in base units that suggest moisture retention.
In bedrooms, inspect window seals, behind wardrobes, and under beds for musty smells and elevated morning RH.
In utility areas, review dryer venting, overflow pipes, and appliance drip trays.
In lofts, confirm insulation isn’t blocking eaves ventilation and check cold-water tanks for lid fit and overflow staining.
Use a calibrated hygrometer; target 40–60% RH for Humidity control.
Record findings, dates, and room temperatures.
Early Damp Signs on Walls and Ceilings
Before mould appears, walls and ceilings usually show measurable moisture cues you can verify with a torch and a moisture meter. Scan at a shallow angle to highlight ripples, tide marks, and wall discoloration; record locations.
Take meter readings on a dry “control” area, then test a 300 mm grid across the suspect zone. Follow the manufacturer’s scale and note any readings that trend upward toward corners, window heads, or service penetrations.
Check finishes closely: look for paint bubbling, blistering, or flaking at joints and along coving.
On ceilings, inspect around downlights, pipe routes, and loft hatches for ring marks or sagging.
If plaster feels friable or cold to touch, treat it as active damp and plan further investigation.
Spot Mould Early: Smells, Spots, and Air Clues
When moisture stays elevated, mould can colonise surfaces quickly, so you should treat odours, fine spotting, and “stuffy” air as early warning indicators.
Start with a controlled sniff test: musty, earthy notes that persist after cleaning suggest active growth.
Next, inspect high-risk zones methodically: corners, behind furniture, around skirting boards, and inside wardrobes.
Look for pepper-like specks, fuzzy pinhead dots, or dull shadowing that enlarges over days.
Use a torch at a low angle to highlight texture changes and early hyphae.
Track moisture levels with a hygrometer; aim to keep relative humidity within accepted indoor limits.
If symptoms align, improve ventilation and filtration to stabilise Air quality, then recheck weekly to confirm arrest of spread.
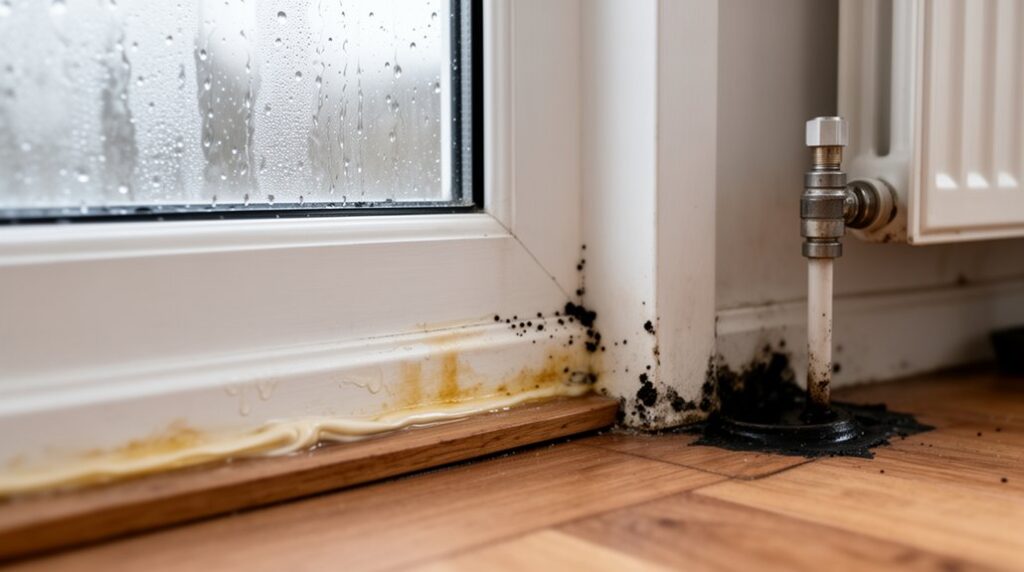
Leak Warning Signs Around Pipes, Roofs, and Windows
Air and surface clues often point to a moisture source, so your next step is to check the building’s common leak pathways: pipework, roof interfaces, and window assemblies.
Start at pipe runs: look for green/white staining on fittings, pinhole spray marks, and damp collars at floor penetrations. Inspect pipe insulation for splits, compression, or missing vapour seals that allow condensation and hidden wetting.
Move to the roofline: confirm roof drainage discharges freely, with no ponding at gutters, no overflow staining, and no lifted flashings at abutments or penetrations.
Inside the loft, trace dark rafters, wet nail points, and tide marks on underlay.
At windows, check mastic joints, weep holes, and frame corners for bubbling paint, softened plaster returns, and salt deposits.
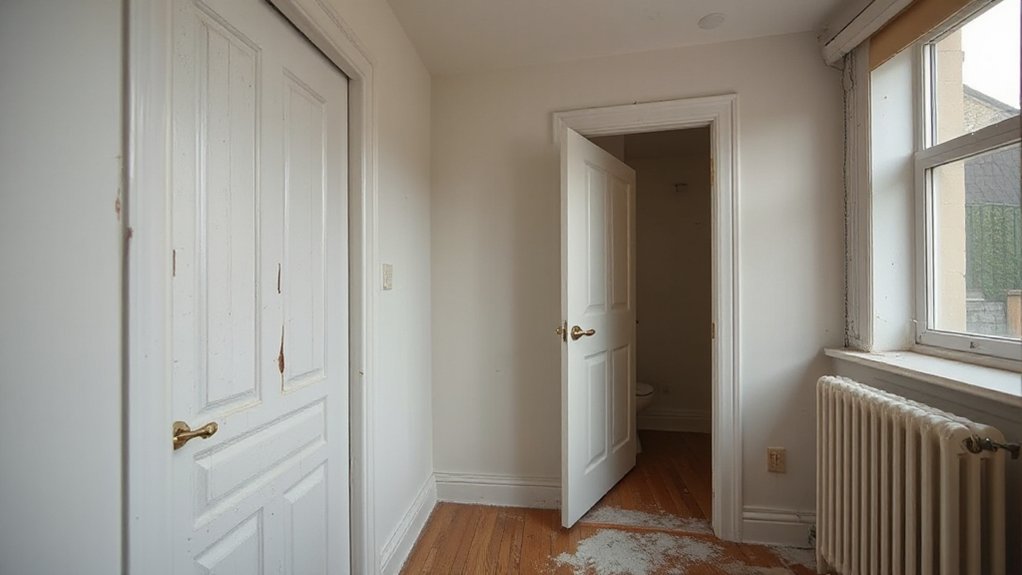
What to Do When You Find Damp or Mould Early
If you spot damp patches or early mould, treat it as a moisture-control task, not a cleaning job. You’ll first isolate the source: check recent rainfall, plumbing runs, seals, and condensation points. Photograph the area, mark boundaries, and date it to track spread. Increase ventilation and keep indoor RH at 40–60% using extractor fans or a dehumidifier.
Next, dry the substrate: remove wet soft furnishings, lift corners of carpets, and keep airflow across the surface. Don’t paint over it. If growth persists after drying, clean hard surfaces with a fungicidal wash per label and wear gloves and an FFP2/FFP3 mask.
For porous materials or areas >1 m², get professional remediation. Log actions as part of Home maintenance and Moisture prevention.
Frequently Asked Questions
Can Damp or Mould Affect My Health Even Without Visible Patches?
Yes, damp or mould can affect your health without visible patches; spores and VOCs can degrade indoor air quality. You should manage moisture, ventilate, and inspect routinely for mold prevention, meeting basic building hygiene standards.
Will Home Insurance Cover Repairs for Damp, Mould, or Hidden Leaks?
Your home insurance might cover sudden, accidental hidden leaks, but it usually won’t cover gradual damp or mould from poor maintenance. Document cause, follow insurer standards, complete Painting preparation, and apply Ventilation improvement to mitigate.
Who Is Responsible for Damp Issues in Rented Properties: Tenant or Landlord?
You’ll usually hold landlords responsible for structural damp and leaks, while you meet Tenant obligations for ventilation and reporting. Landlord responsibilities cover repairs and compliance; you must document issues, notify promptly, and prevent condensation damage.
How Can I Tell if Mould Is Toxic Without Professional Testing?
You can’t reliably tell; like a masked intruder, appearance misleads. For Mould toxicity, follow standards: assume risk when musty odor persists, symptoms recur, growth spreads; avoid DIY testing, document, isolate, ventilate, and remediate promptly.
What Does a Professional Damp Survey Cost and What Does It Include?
A Damp survey typically costs £150–£450; your Cost overview varies by property size and lab add-ons. You’ll get moisture profiling, salt/thermal checks, ventilation assessment, defect mapping, and a standards-led report with remediation priorities.
Conclusion
Stay methodical and you’ll catch damp, mould, or leaks before they take root. Work room by room, torch low, eyes scanning for tide marks, blistered paint, and soft edges. Trust your nose: a musty note is an early alarm. Log humidity, date stains, and recheck. If you find growth, isolate moisture sources, dry to standard, and clean safely—then repair, seal, and ventilate. Act early; small signals become big failures.