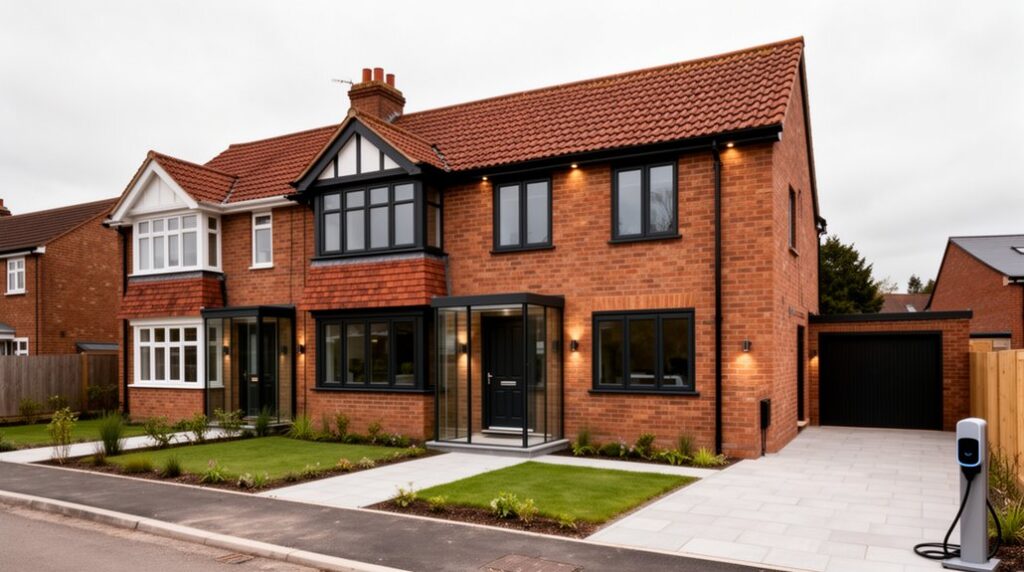
You could spend a lifetime chasing every quirk in a 1930s semi, so you start with a proper survey: structure, damp paths, and any asbestos before you lift a floorboard. You set must-fix priorities, then price in contingencies and check planning, Building Regs, and the Party Wall Act early. You keep what earns its place—bays, doors, fireplaces—while you upgrade insulation and ventilation without trapping moisture. Next, you’ll need to decide how far you can push the layout…
Start With a Survey: Structure, Damp, and Asbestos
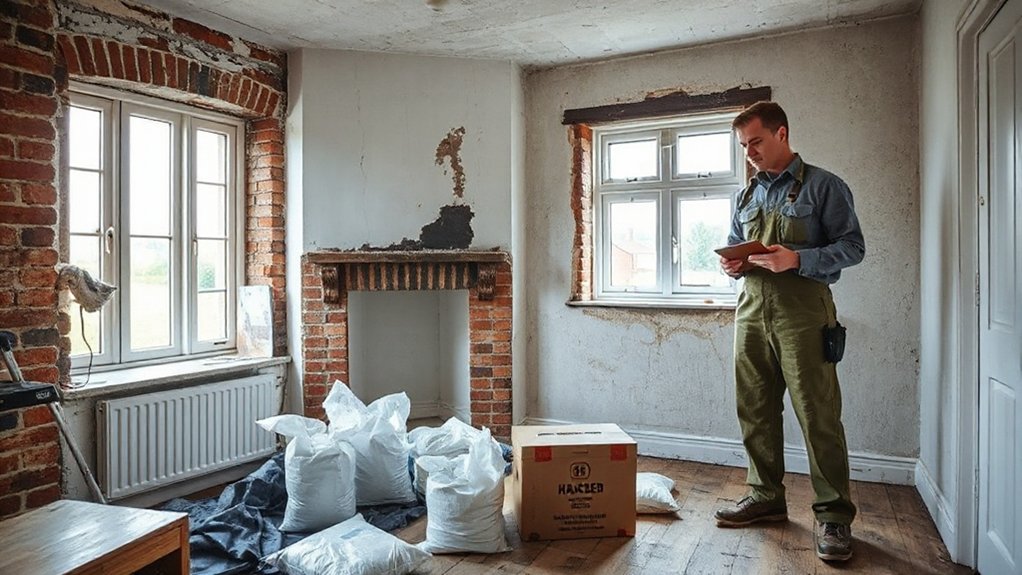
Before you touch a wall or lift a floorboard, commission a full building survey tailored to 1930s construction, because hidden defects can dictate what you’re allowed to alter and what you must preserve.
Ask for opening-up where safe, and a moisture profile of walls, chimneys, and suspended timber floors so you can separate rising damp from bridging, leaks, or cement renders.
Get the roof, party wall, and bay structure checked for spread, rot, and failed lintels, and confirm any past steelwork meets current standards.
Order an asbestos refurbishment/demolition survey before drilling: soffits, textured coatings, old floor tiles, and boiler flues can all contain ACMs.
Coordinate garden landscaping with drainage falls, and choose breathable exterior paint that won’t trap moisture.
Set Renovation Goals (Must-Fix vs. Nice-to-Have)
Once you’ve got the survey findings in hand, set clear renovation goals by separating non‑negotiable “must‑fix” work from “nice‑to‑have” upgrades, because the order you tackle them affects cost, programme, and compliance.
Put safety and fabric first: structural movement, roof defects, active damp routes, unsafe wiring, poor drainage, and any asbestos management.
Prioritise weather‑tightness, ventilation, and insulation strategies that respect original brickwork and timber, then plan services routes so you don’t hack historic plaster or staircase joinery.
Check Building Regulations early: fire separation, escape windows, ventilation rates, and electrical certification.
Next, define performance goals—warmth, acoustics, storage—while keeping period proportions, doors, and picture rails.
Finally, list discretionary items: interior decoration schemes, fitted joinery, and Landscaping ideas like permeable paths and planting.
Budget for a 1930s Semi (With Contingencies)
With your must-fix list and performance goals set, price the work in the same order you’ll build it: make the house safe and weather-tight first, then upgrade fabric and services, then finish surfaces and joinery.
Get itemised quotes that separate labour, prelims, waste, and testing so you can compare like-for-like and protect original details.
Allow 10–15% contingency for known unknowns (lath plaster repairs, rotten window sills) and 5% for inflation and lead times.
Ring-fence code-critical upgrades: RCD consumer unit, bonded pipework, fire doors where required, and compliant insulation thicknesses.
Choose Eco friendly materials where they won’t trap moisture: lime plaster, woodfibre boards, breathable paints.
Budget early for smart home integration—cabling routes, Wi‑Fi mesh, and zoned controls—so you don’t chase walls later.
Permissions: Planning, Building Regs, Party Wall
Although a 1930s semi often looks straightforward, your permissions can get complex fast, so map them early: planning permission (and permitted development limits), Building Regulations approval, and the Party Wall etc. Check whether your rear extension, dormer, porch, or outbuildings exceed PD rules on depth, height, materials, or side windows; if you’re in a conservation area, assume tighter controls.
Treat garden landscaping seriously: new hardstanding, raised patios, drainage changes, and front driveways can trigger permission and SuDS requirements.
For Building Regs, line up structure, fire safety, ventilation, insulation, electrics, and glazing; you’ll prove energy efficiency via U‑values, airtightness, and heating controls.
If you’re excavating, cutting into, or building on the boundary, serve Party Wall notices early and budget for surveyors.
Keep or Replace Period Features (Fireplaces, Bays, Doors)
After you’ve mapped planning, Building Regs, and any Party Wall risks, decide what original 1930s fabric you’ll keep and what you’ll upgrade, because that choice affects costs, compliance, and the house’s character.
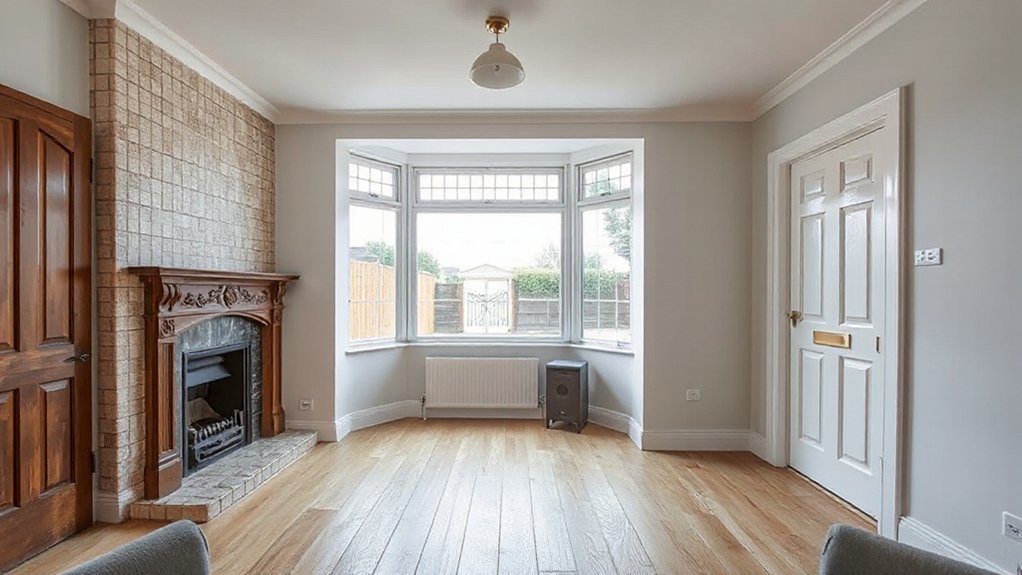
Start with fireplaces: for fireplace preservation, check the chimney’s condition, liner suitability, hearth thickness, and clearances to combustibles; if you fit a stove, meet Part J and add carbon‑monoxide detection.
For bays, retain curved frames and leaded details where possible, but upgrade glazing only if the profiles and sightlines stay faithful; confirm lintels and damp-proofing aren’t compromised.
For doors, salvage and refurbish solid timber, but improve security with discrete locks, and address fire performance where required.
Successful period feature integration pairs repair-first choices with code‑compliant upgrades.
Rework the Typical 1930s Semi Layout for Today
You can make a 1930s semi feel contemporary by opening up the front rooms while keeping structural logic intact—confirm which walls are loadbearing, specify a properly sized RSJ with padstones, and maintain any bay and picture-rail details you’re retaining.
Then you’ll improve everyday living by creating a modern kitchen-diner flow to the rear, using wider openings or a modest extension that meets Building Regs for structure, insulation, ventilation, and means of escape.
If you’re planning open-plan near the stair, you’ll also need to address fire separation and protected routes, so layout changes stay both airy and compliant.
Opening Up Front Rooms
When a 1930s semi still has its original front-parlour-and-dining-room split, opening up the front rooms can make the house feel wider, brighter, and far more usable—without erasing the period character that gives it value.
Start by confirming whether the dividing wall is loadbearing; you’ll likely need a structural engineer, an RSJ, and Building Control sign-off.
Keep original cornices, picture rails, and fireplaces, and reuse salvaged skirting to maintain crisp passages in your interior decor.
Add a glazed or half-height screen if you want zoning without blocking light.
Upgrade electrics while walls are open, then improve acoustic performance with insulated plasterboard where allowed.
Coordinate sightlines to the bay window with your garden landscaping so the front rooms feel connected, not exposed.
Modern Kitchen-Diner Flow
Opening up the front rooms often highlights the next bottleneck in a 1930s semi: a narrow, closed-off rear kitchen that can’t handle modern family traffic. You’ll get better flow by relocating the kitchen to the rear, combining it with dining, and keeping a clear route to the garden.
If you remove the old galley wall, you must confirm it’s non-loadbearing or specify a beam, padstones, and compliant fire protection.
Keep original internal doors where possible, or reuse glazing to echo period detailing.
Add a wide opening to the garden with threshold drainage, insulated lintels, and trickle vents to meet current regs.
Align new flooring levels to avoid trip hazards, and plan garden landscaping so drainage won’t splash the exterior facade.
Choose a Kitchen-Diner Extension Approach
You’ll choose between a rear extension and a side return based on your plot width, party-wall constraints, and how much original rear elevation you can keep intact. Check planning rules, neighbour rights, and Building Regulations early—especially structure, fire escape routes, insulation, and drainage—so the new kitchen-diner works without compromising the 1930s fabric.
Then decide whether you’re committing to fully open-plan living or a zoned layout that uses partial walls, glazing, or level changes to control noise, heat, and sightlines.
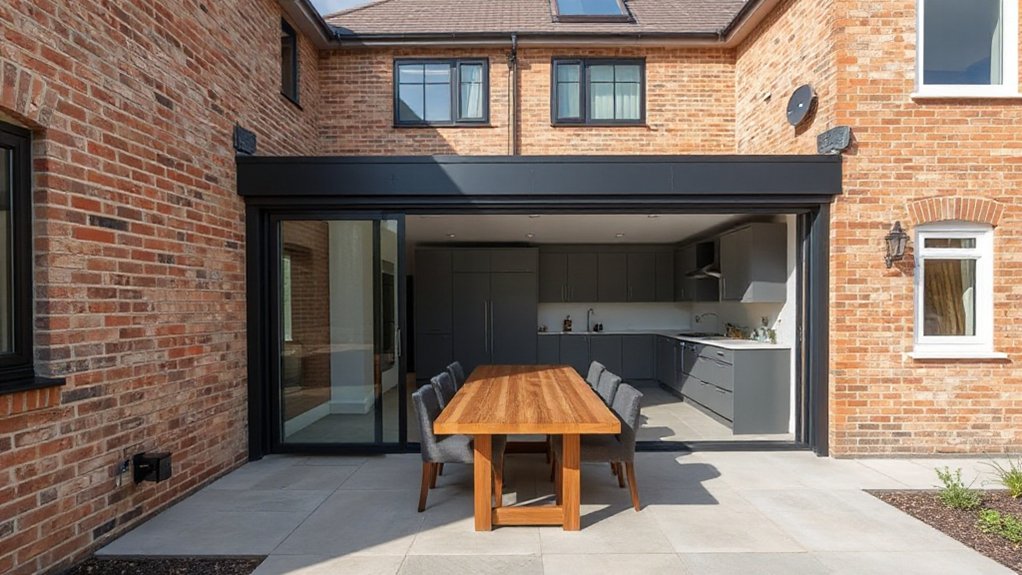
Rear Extension Versus Side Return
How far can you push a 1930s semi’s kitchen-diner without sacrificing daylight, neighbours’ amenity, or the house’s original proportions? A rear extension buys depth and clear garden connection, but it can darken the middle; plan rooflights and keep the ridge low to respect the original rear elevation.
A side return infill exploits wasted alley space, usually with less impact on neighbours, yet you must protect party-wall junctions and manage rainwater falls. Check Permitted Development limits, eaves height, and the 45‑degree daylight rule before you fix footprints.
Match brick coursing and window reveals, or use restrained exterior cladding as a deliberate contrast. Tie thresholds to garden landscaping levels, drainage, and permeable paving for compliance too.
Open-Plan Or Zoned Layout
Once you’ve settled the extension’s footprint—rear, side return, or a mix—the next decision is whether the enlarged kitchen-diner reads as one uninterrupted volume or a sequence of linked zones.
If you go open-plan, you’ll need steel sizing confirmed by an engineer, fire detection upgraded, and ventilation rates met for hob extraction and background air. Keep period cues by aligning new ceiling heights with original cornice lines.
If you choose zoning, you can use glazing, a nib wall, or a change in floor finish to separate prep, dining, and snug areas while controlling acoustics and heat loss.
Tie sightlines to outdoor landscaping with wide sliders, but manage overheating with shading and trickle vents.
Let interior color schemes guide transitions without losing 1930s restraint.
Insulate and Ventilate Without Trapping Damp
Although a 1930s semi often feels draughty, you can’t treat it like a sealed new-build without inviting condensation and rot, so insulation has to go hand-in-hand with planned ventilation and a clear vapour-control strategy.
Start by fixing gutters, flashings, and cracked render, then check subfloor airbricks aren’t buried by garden landscaping.
Insulate lofts with breathable quilts, keep eaves clear, and add rafter vents to maintain a cold roof.
For walls, prefer internal insulated lime plaster or woodfibre systems with taped joints, and place the vapour control layer on the warm side where required by regs.
Seal obvious leakage paths, but retain trickle vents and a continuous background air change.
Choose exterior paint that stays vapour-open to let masonry dry.
Update Electrics, Plumbing, and Heating Safely
Before you open up walls or lift floorboards, get a qualified electrician and a Gas Safe engineer (and a competent plumber) to survey what you’ve actually got, because many 1930s semis hide a mix of ageing rubber/PVC cabling, ad‑hoc spurs, undersized bonding, and patched pipework that won’t meet today’s safety standards.
You’ll likely need a new consumer unit with RCD/RCBO protection, verified earthing and bonding, and Part P sign‑off. Replace lead or galvanised runs, fit service valves, and pressure‑test before you reinstate plaster.
For heating, size radiators properly, flush systems, and consider a condensing boiler or heat pump with weather compensation for energy efficiency.
Add Smart home zoning, TRVs, and leak detection, but keep controls reversible and routes discreet.
Add Built-In Storage: Alcoves, Stairs, and Eaves
If you plan built-in storage early, you’ll reclaim awkward 1930s dead zones—chimney-breast alcoves, the void under the stair, and sloping eaves—without erasing the house’s original proportions.
Build alcove shelving as furniture, not wall removal: keep the chimney breast intact, ventilate around any flues, and match skirting, picture rails, and architraves.
Understairs, fit stair cupboards with a framed opening that doesn’t weaken stringers; maintain escape routes and keep electrical junctions accessible to regs.
In loft rooms, design eaves cabinets with fire-safe linings where required, continuous insulation behind carcasses, and condensation control via a vapour layer and airflow.
Use moisture-resistant boards in cold corners, and plan lighting and sockets before you close the voids.
Frequently Asked Questions
How Long Does a Full 1930S Semi Renovation Typically Take?
You’ll typically need 4–9 months for a full 1930s semi renovation. You’ll protect Historic details, verify Structural integrity, secure permits, upgrade electrics/plumbing, insulate to code, and allow extra time for inspections and surprises.
Can We Live in the House During the Renovation?
Yes, you can, even if you worry about disruption—plan Living arrangements by phasing rooms. Enforce Safety precautions: isolate dust, maintain egress, cap live services, and schedule inspections, so you’ll meet code while protecting original details.
What Renovation Work Adds the Most Resale Value?
You’ll add the most resale value by prioritizing kitchens and baths, then energy-efficient windows, insulation, and HVAC. Balance Historic preservation with Modern upgrades, pull permits, meet code, and keep original trim, doors, and façades intact.
How Do We Choose a Builder Experienced With 1930S Properties?
Choose a builder who’s proven Historical preservation work on similar homes, shows photos and references, understands local codes, surveys structure, plans Structural reinforcement, and coordinates with conservation officers. You’ll verify insurance, warranties, and detailed quotes.
What Insurance Cover Is Needed During Major Renovation Works?
You’ll need Insurance coverage for builders’ risk, public liability, employer’s liability, and contractor’s all‑risks, plus updated home/contents and legal expenses. Address renovation risks: fire, theft, water, structural collapse. Guarantee permits, inspections, party‑wall compliance.
Conclusion
When you renovate a 1930s semi, you’re walking a tightrope between heritage and performance. Start with surveys, then prioritise must-fix damp, structure, and asbestos before any finishes. Keep original bays, doors, and fireplaces where you can, but upgrade insulation and ventilation so you don’t trap moisture behind new linings. Secure planning, Building Regs, and Party Wall sign-off early. Then modernise electrics, plumbing, heating, and storage—quietly, safely, and well-documented.