Repainting your home can turn into a “bigger project than expected” if you skip the basics. You’ll get longer-lasting results when you choose the right paint for each surface, then clean, patch, sand, and prime as needed. You should mask trim, cover floors, and shield plants before you open a can. For safety, you’ll wear eye and lung protection and test for lead where required. Next, you’ll need a plan for weather and drying times…
Pick the Right Paint for Each Surface
Before you open a can, match the paint to the surface so it bonds properly, resists wear, and doesn’t trap moisture. Identify whether you’re coating drywall, trim, masonry, metal, or exterior siding, then choose a formula rated for that material and location.
Use interior acrylic latex for walls, tougher enamel for trim and doors, and breathable masonry paint for concrete or stucco. For exteriors, pick UV- and mildew-resistant paint made for your siding type.
Select a Paint finish that fits exposure: flat hides flaws, satin cleans easily, and semi-gloss sheds moisture on kitchens, baths, and exterior trim.
Plan Color coordination under your lighting, and verify VOC levels, ventilation requirements, and recoat windows to reduce fumes and failure.
Prep Your Home for Repainting (Clean, Patch, Sand)
Once you’ve chosen the right paint and finish for each surface, set yourself up for a durable result by prepping the home methodically—cleaning, patching, and sanding so the coating can grip evenly.
Start with Surface preparation: remove dust, oils, and mildew using proper cleaning techniques—vacuum, then wash with a mild detergent or TSP substitute; rinse and let it dry fully.
Wear gloves, eye protection, and a respirator when needed, and ventilate the area.
Next, scrape loose paint and caulk gaps, then patch holes with spackle or exterior filler; feather edges with a putty knife and allow full cure.
Sand repairs and glossy spots with 120–220 grit for uniform tooth; wipe residue with a tack cloth or damp rag.
Inspect under bright light and repeat.
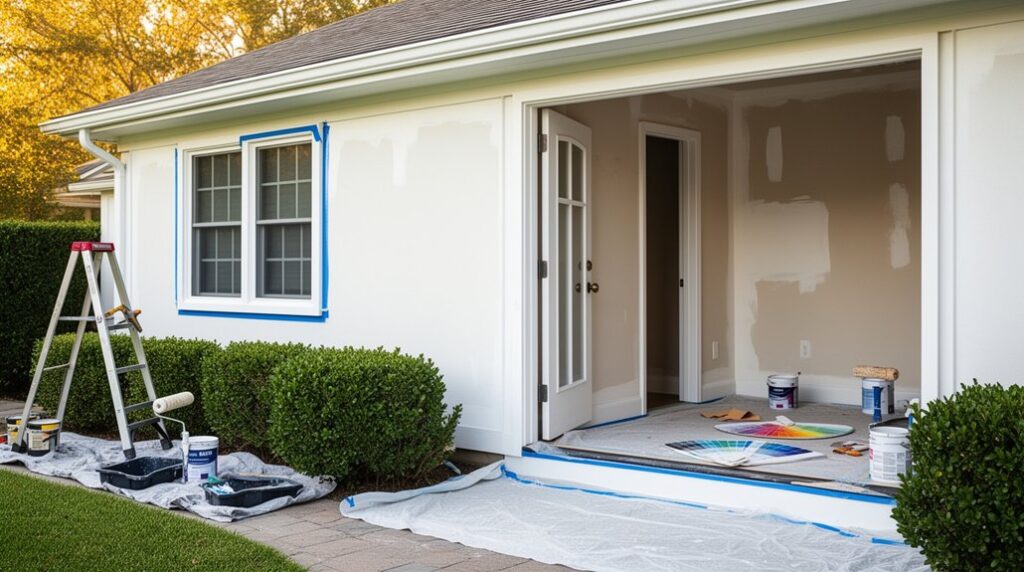
Protect Floors, Trim, and Landscaping Before Painting
After you finish surface prep, protect everything you’re not painting so drips, dust, and overspray can’t ruin finished surfaces or plants.
Start with Floor protection: vacuum, then lay rosin paper or a canvas drop cloth, and tape seams so you can’t trip. Use plastic only for short tasks since it gets slippery.
Mask baseboards, casings, hardware, and outlets with painter’s tape; press edges tight, and cover fixtures with plastic and tape. Remove switch plates instead of taping around them, and bag screws.
Outside, do Landscaping prep by misting leaves, then draping breathable drop cloths over shrubs; keep plastic off plants in sun to prevent heat damage. Tape down edges, and keep pathways clear.
Prime Smart: When Repainting Needs Primer
Before you repaint, you’ll prime any stained areas (water marks, tannin bleed, smoke, grease) so they don’t telegraph through the new coat. You’ll also ventilate well and wear gloves when handling stain-blocking primers.
If the existing paint is glossy, you’ll scuff-sand it and clean off dust. Then, apply a bonding primer so the finish coat can grip instead of peeling.
Primer For Stained Surfaces
If you’re repainting over stains, you can’t count on finish paint alone to lock them down, so start by priming any surface that shows water marks, nicotine, grease, tannin bleed (common on wood), rust, or unknown discoloration.
Clean first with the right degreaser or mild detergent, rinse, and let it dry fully so you’re not sealing in moisture.
Spot-sand loose material, then vacuum or tack-wipe dust.
Choose a stain-blocking primer designed for stained surfaces, and confirm primer compatibility with your topcoat (water- or solvent-based), substrate, and environment.
Test a small area, then apply a full, even coat at the label’s spread rate.
Use gloves and ventilation, and isolate the area to control dust and fumes.
Let primer cure before painting.
Primer For Glossy Paint
Although glossy paint looks clean and durable, it doesn’t give new paint much to grab onto, so you’ll often need primer to prevent peeling, fisheyes, and patchy sheen.
Start by cleaning with a degreaser and rinsing well; oils hide under a glossy finish and ruin adhesion. Scuff-sand with 150–220 grit until the surface looks uniformly dull, then vacuum and tack-wipe.
Wear gloves, eye protection, and a respirator when sanding or using solvents, and control dust with a damp drop cloth.
For primer selection, choose a bonding primer labeled for glossy or slick surfaces; use shellac or stain-blocking primer if you see tannin bleed or odor.
Apply thin, even coats, respect recoat times, and test adhesion before topcoating.
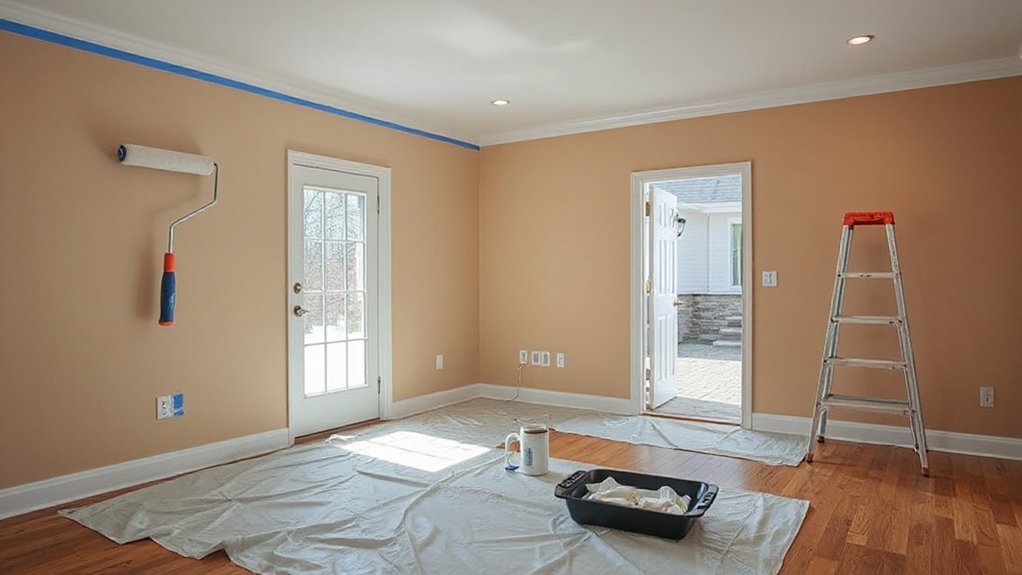
Repaint Interior Walls for Smooth, Durable Results
Once you’ve chosen your paint and gathered supplies, you can get interior walls looking professionally finished by focusing on surface prep, clean application, and safe work habits.
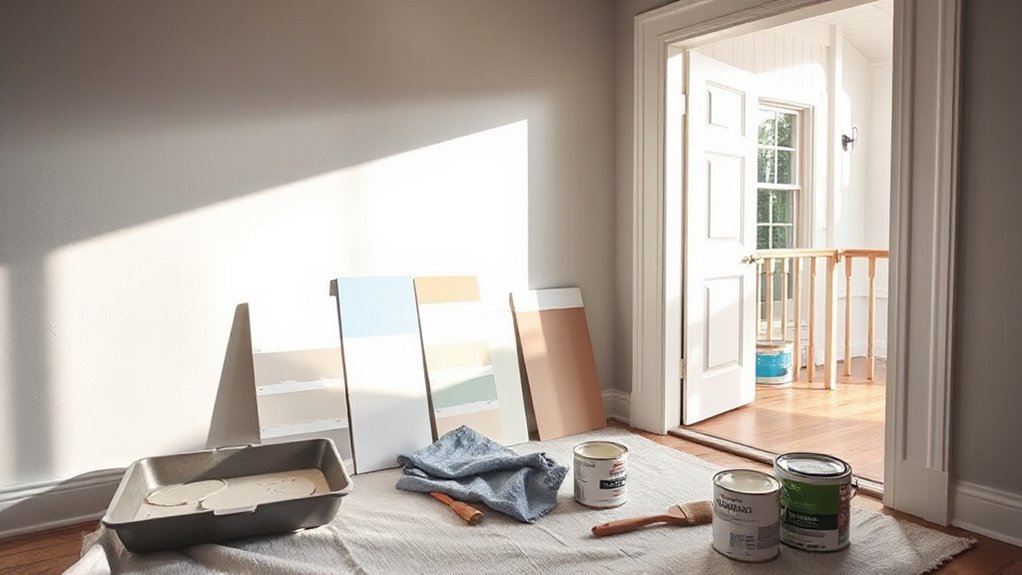
Start with Color selection and consider Finish options based on washability and sheen.
Clear the room, cover floors, and tape edges.
Wash walls to remove grease, then patch holes, sand smooth, and vacuum dust; wear a respirator when sanding and keep windows open for ventilation.
Spot-prime repairs if needed, then cut in with a quality angled brush and roll in a “W” pattern, maintaining a wet edge.
Don’t overload the roller; back-roll lightly to level texture.
Apply two thin coats, follow recoat times, and clean tools promptly to prevent buildup.
Repaint Trim, Doors, and Cabinets Without Brush Marks
Before you load a brush, set yourself up for a spray-smooth finish on trim, doors, and cabinets by controlling dust, leveling the surface, and choosing the right tools and coatings. Kill power at nearby outlets, mask hardware, and ventilate. Degrease with a non-residue cleaner, then scuff-sand to 180–220 grit; vacuum and tack-cloth.
Spot-fill dents, then sand flush. Prime bare wood or repaired areas, and lightly sand primer for a flat base.
For paint selection, use a self-leveling enamel (waterborne alkyd or urethane acrylic) matched to your primer. Apply thin coats.
Use a quality angled sash brush and disciplined brush technique: load lightly, tip off with long strokes, keep a wet edge, and don’t overwork.
Let coats cure fully.
Repaint Your Exterior Siding: Scrape, Caulk, Seal
If you want exterior paint to last through sun, wind, and rain, you’ve got to lock down the siding first with careful scraping, caulking, and sealing. Set a stable ladder, wear eye protection, gloves, and a respirator, and test older coatings for lead before you disturb them.
Scrape loose paint to a firm edge, then feather with a sanding block so ridges won’t telegraph. Do siding repair next: reset popped nails, replace rotted boards, and spot-fill checks with exterior-grade filler, then sand flush.
Vacuum dust, wash residue, and let surfaces dry completely. Apply paintable exterior caulk to joints, trim gradual transitions, and around penetrations, tooling smooth. Seal knots and bare wood with primer for reliable weatherproofing techniques.
Paint Exterior in the Best Weather Window
With the siding scraped, caulked, and sealed, your paint job now depends on choosing a weather window that lets the coating cure evenly and bond hard. Check the label for temperature and humidity limits, then confirm the forecast for 48–72 hours.
Paint when surfaces are dry, winds are light, and dew won’t settle before the film sets. Avoid direct, baking sun on dark siding; start on the shaded side and follow the shade line to prevent lap marks and premature drying.
Plan seasonal timing: late spring and early fall often give stable weather conditions without heat spikes.
Stop if rain threatens, if temperatures will drop overnight, or if gusts make ladders and sprayers unsafe.
Maintain Painted Surfaces So They Last Longer
Although fresh paint can look finished on day one, it lasts years longer when you build a simple maintenance routine around it. Start with monthly spot checks: scan for chips, hairline cracks, mildew, and chalking—early signs of Paint aging.
Clean gently twice a year using a soft brush, mild detergent, and low-pressure rinse; you’ll protect Surface durability without eroding the film.
Keep gutters clear and sprinklers aimed away so water doesn’t stay on siding or trim.
Indoors, wipe scuffs with a damp microfiber cloth; avoid abrasive pads and harsh solvents.
Touch up promptly: sand feathered edges, prime bare spots, then apply matching topcoat.
Work safely—wear gloves, eye protection, and a respirator when sanding dust, and test older paint for lead before disturbing it.
Frequently Asked Questions
How Much Does Professional Repainting Cost Compared to Doing It Yourself?
You’ll typically pay $2,000–$8,000+ for pros, while DIY runs $300–$1,500 in materials. You’ll save labor but must follow safe Painting techniques, apply Color psychology wisely, and use PPE, ladders carefully.
Do I Need a Permit or HOA Approval to Repaint My Home Exterior?
Often, yes—check first: about 60% of HOAs regulate exteriors. You’ll need permits if you change surfaces or codes. Review homeowner restrictions and paint color restrictions, submit samples, and document approvals for safety.
How Do I Choose Paint Colors That Increase Resale Value?
Choose neutral, warm-grays or soft whites with broad appeal; use Color psychology to signal cleanliness and calm. Match undertones to fixed finishes, test samples in daylight, and select durable paint finish for easy, safe maintenance.
How Long Should I Wait Before Moving Furniture Back After Painting?
Wait at least 24 hours before furniture placement; 48–72 hours is safer, especially with latex. Check drying time on the can, make sure it is firm to the touch, ventilate well, and avoid dragging to prevent scuffs.
Are Low-Voc Paints Safer for Children, Pets, and Allergy Sufferers?
Yes—low-VOC paints are safer, like opening a cleaner window in your home. You’ll reduce fumes for kids, pets, and allergies. Choose Eco friendly options, still follow Safety precautions: ventilate well, cure fully, limit exposure.
Conclusion
You’ve done the careful work—cleaning, patching, sanding, priming—so your new coat bonds tight instead of peeling loose. Inside, you trade dull, scuffed walls for smooth color that catches light; outside, you swap chalky siding for a sealed shell that shrugs off rain. You’ve masked trim, covered floors, and protected plants. You’ve watched temperature and humidity. Keep gloves, goggles, and lead safety in mind, then touch up fast to extend every finish.